
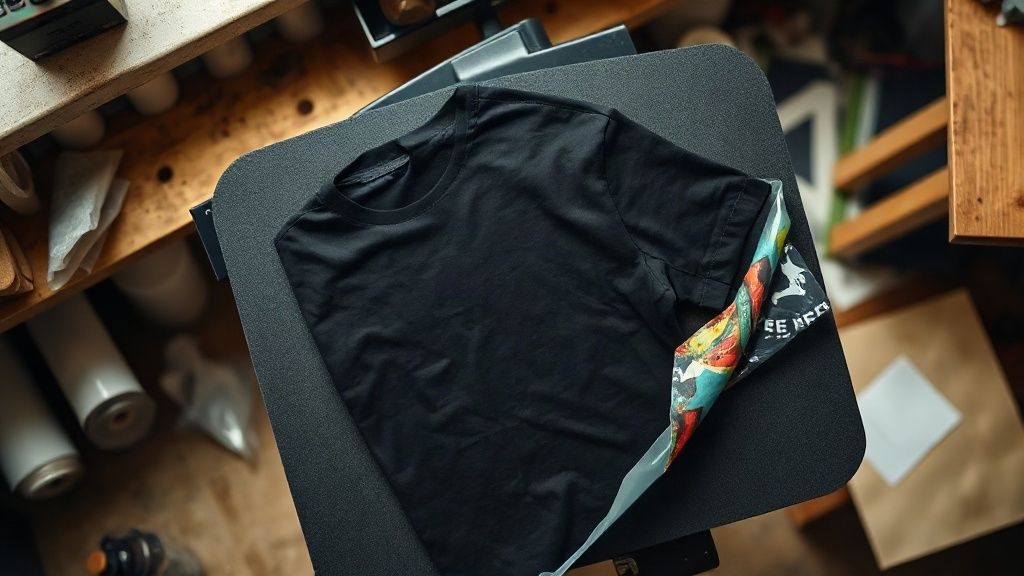
Most people discover DTF Transfers the same way: they need forty shirts for a team, a market stall, or a family reunion, and screen printing quotes come back with setup fees that make no sense at that volume. Direct to film fills that gap. It lets you print a full-color design on a film carrier, dust it with adhesive powder, cure it, and press it onto fabric whenever you need it. No screens, no color separation, no minimums that force you to order 144 pieces when you only want 12.
But the gap between a DTF transfer that looks great on day one and one that survives twenty washes comes down to a handful of variables most tutorials skip. This guide covers what actually matters: fabric matching, press settings, film storage, and how to diagnose failures instead of guessing.
What Makes DTF Different From Vinyl or Screen Printing
Heat transfer vinyl cuts shapes from colored sheets, so each additional color means another layer and another alignment step. Screen printing lays ink directly into the fabric, giving an exceptionally soft hand, but it locks you into per-color setup costs. DTF sits between them. The design prints on a PET film in one pass, the white ink backing sits underneath the color layer, and a thermoplastic adhesive powder bonds the whole thing to the garment during pressing.
That structure explains both the strengths and the limits. Because the white layer is opaque, DTF works on dark garments without a base plate or underbase screen. Because the film is pressed rather than printed into the weave, the print sits on top of the fabric with a slight texture. On cotton tees this reads as a soft rubber feel. On performance polyester it can feel more noticeable, which is why fabric choice matters more with DTF than with most decoration methods.
Where DTF Earns Its Place
- Small runs with full-color artwork, including photographic images and gradients
- Names and numbers on jerseys where each piece is different
- Sample and proof runs before committing to a larger screen print order
- Blanks you already own, including mixed sizes and colors in one job
- Canvas totes, denim jackets, and other flat-ish surfaces that tolerate heat
Fabric Compatibility: The Variable Nobody Warns You About
DTF adheres through heat and pressure, so the fabric has to tolerate both. Cotton and cotton blends are the easy answer, and they hold transfers well across the full range of press temperatures. Ring-spun cotton with a tight knit gives the cleanest edge definition, while heavy fleece can swallow detail because the adhesive sinks into the pile.
Polyester is where things get interesting. At higher temperatures, polyester dyes can migrate into the adhesive layer, causing a pink or yellow ghosting effect that shows through light-colored prints. The fix is not to crank the heat down and hope. Use a lower temperature with a longer dwell time, and consider a dye-migration blocker sheet on problematic garments. Some printers simply keep a separate set of settings for 100% polyester and never mix those jobs with cotton runs.
Nylon, coated water-resistant fabrics, and anything treated with a silicone softener are poor candidates. Silicone in particular creates a release surface that adhesive cannot grip, so the transfer peels at the corners within a few wears. If a client hands you a garment with an unknown finish, press a small test transfer on the inside hem before committing the full job.
Press Settings That Actually Work
Manufacturers publish recommended ranges, but every press runs a little differently. A clamshell press often reads hotter than the platen actually is, while a swing-away with even pressure tends to be more consistent. Treat any published number as a starting point, then dial it in with test presses.
A Reliable Starting Point
- Pre-press the garment for 3 to 5 seconds to drive out moisture. Damp fabric is one of the most common causes of a transfer that looks fine and then lifts after washing.
- Set pressure to medium to firm. You want the adhesive to flow into the weave, not just rest on top of it.
- Press at roughly 300 to 320 degrees Fahrenheit for 10 to 15 seconds with the film face down.
- Let the garment cool for a few seconds, then peel the film. Cold peel gives cleaner edges on fine detail; warm peel works better on heavy textures.
- For a matte finish and improved wash durability, cover the print with parchment or a Teflon sheet and press again for 5 to 8 seconds.
The second press is the step most people skip, and it is the one that most affects how the print feels and how long it lasts. It re-flows the adhesive and flattens the slightly glossy surface that comes off the film.
Pressure Beats Temperature
When a transfer fails to adhere, the instinct is to raise the temperature. That usually makes things worse. Too much heat scorches the film, causes the adhesive to over-flow past the artwork edge, and on polyester it accelerates dye migration. Insufficient pressure is the more common culprit. If you can see the fabric weave texture pressed into the carrier film after pressing, your pressure is probably adequate. If the film comes off looking flat and untouched, increase pressure before touching the temperature dial.
Storage and Handling of Unused Transfers
DTF film is hygroscopic, meaning it absorbs moisture from the air. A stack of transfers left open in a humid room can develop adhesion problems that have nothing to do with your press settings. Store them flat, in a sealed bag with a desiccant packet, away from direct sunlight. Keep them cool but not cold, and if you store them in a refrigerator during a hot summer, let the sealed bag come to room temperature before opening it. Otherwise condensation forms directly on the adhesive powder.
Film also has a practical shelf life. Most transfers press cleanly within six months of production, and older stock tends to need slightly more dwell time. If you are working through older inventory, run one test press before starting a batch.
Wash Testing: The Only Proof That Counts
Every supplier claims their transfers survive fifty washes. You do not need fifty washes to learn what you need to know. Run a seven-day test instead. Press a sample onto the same fabric you plan to use, then wash it once a day inside out in cold water, tumble dry low or hang dry, and inspect the edges each time.
What you are looking for is edge lifting, cracking across the print surface, and color fading. Edge lifting points to insufficient pressure or a contaminated fabric finish. Cracking usually means the adhesive layer is too thin relative to the ink, often the result of over-pressing during the initial application. Fading on polyester almost always means dye migration rather than ink degradation. Each symptom has a different fix, and a seven-day test tells you which one you are dealing with before you commit to a hundred-piece order.
Common Problems and What They Mean
- Transfer peels at corners after washing: uneven pressure across the platen, or the garment was not pre-pressed.
- Print looks glossy and plastic: the second press was skipped or too short.
- Fine lines fill in and detail disappears: too much pressure, or the adhesive powder was applied unevenly.
- Color looks dull over dark fabric: the white ink layer is too thin, a printing issue rather than a pressing one.
- Yellow or pink halo around the print on polyester: dye migration, solved with lower temperature and a blocker sheet.
Frequently Asked Questions
Can DTF transfers be applied to 100% polyester performance wear?
Yes, but with adjusted settings. Use a lower temperature around 275 to 290 degrees Fahrenheit with a longer dwell time of 20 to 25 seconds, and add a dye-migration blocker sheet if the garment has a tendency to bleed. Always test on an inside hem first, since performance fabrics vary widely in how they respond to heat.
How long should I wait before washing a garment with a DTF transfer?
Wait at least 24 hours after pressing before the first wash. The adhesive continues to set as it cools and rests. Washing immediately after pressing, while the bond is still settling, is one of the most common reasons a transfer that looked perfect begins lifting at the edges.
Do DTF transfers work on cotton canvas bags and denim jackets?
They do, and both are popular applications. Canvas and denim tolerate higher heat well, and their flat, dense surfaces give excellent edge definition. The main consideration is thickness: heavy denim may need slightly longer dwell time so heat penetrates the full fabric depth rather than just the surface.
What is the difference between hot peel and cold peel DTF film?
Hot peel film is designed to be removed immediately after pressing while still warm, which speeds up production on large batches. Cold peel film is removed after the transfer cools for a few seconds, and it generally produces sharper edges on fine detail and small text. Match the film type to your artwork rather than your schedule.
Why does my DTF transfer feel stiff or rubbery?
Thickness comes from the adhesive and ink layers, so large solid designs will always feel more substantial than fine line work. You can reduce the hand feel by using a thinner film, applying a proper second press, and avoiding oversized solid blocks of color where a lighter design would work just as well.