
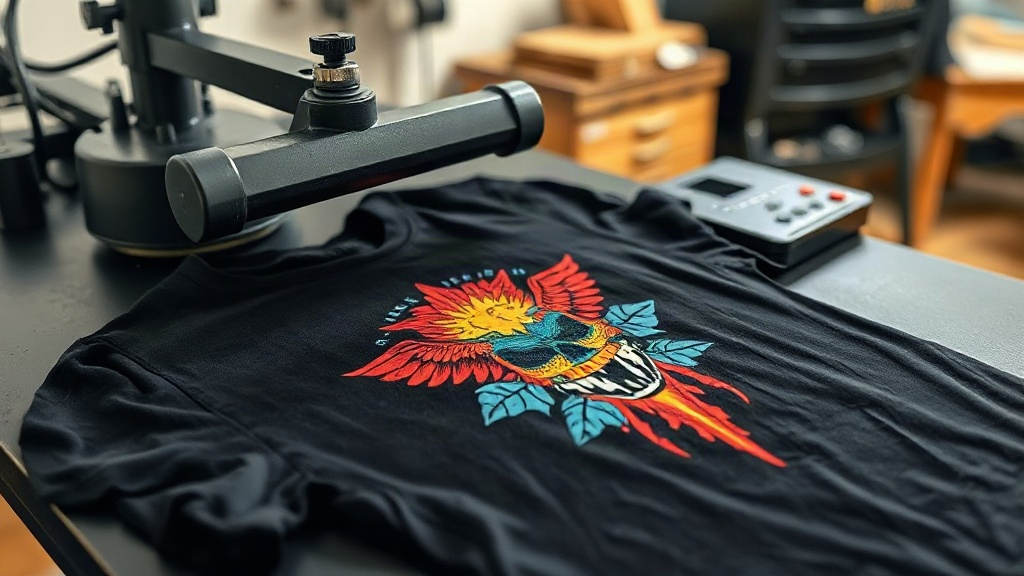
If you've been exploring custom apparel printing, you've likely encountered DTF transfers. This innovative method is taking the garment industry by storm, offering vibrant colors, fine details, and incredible versatility. Whether you're a small business owner, a hobbyist, or someone curious about printing techniques, understanding DTF transfers can open up a world of creative possibilities. In this guide, we'll walk you through everything you need to know to get started with DTF transfers and achieve professional results.
What Are DTF Transfers?
DTF stands for Direct to Film. It's a printing technology where your design is printed onto a special film, coated with adhesive powder, and then heat-pressed onto the fabric. Unlike DTG (Direct to Garment) or screen printing, DTF transfers don't require pretreatment of the fabric or specialized equipment beyond a standard heat press. The process involves printing with water-based inks onto a PET film, dusting with hot-melt adhesive powder, and curing the powder to create a transfer that can be stored and used later.
How DTF Transfers Differ from Other Methods
DTF transfers stand out because they work on a wide range of fabrics, including cotton, polyester, blends, and even nylon. They eliminate the need for color-specific screens or plates, making them cost-effective for short runs and detailed designs. Plus, the prints are stretchable and durable, often outlasting the garment itself.
The DTF Transfer Process Step by Step
Let's break down the DTF transfer process from start to finish so you can replicate it in your own workshop.
1. Design Preparation
Start with a high-resolution image. Vector files are ideal, but 300 DPI raster images work well too. Remember that DTF prints white ink as a base, so your design should have a transparent background if you want the fabric color to show through. Most RIP software will handle color separation automatically.
2. Printing the Film
Load your DTF printer with DTF-specific inks and PET film. The printer lays down a layer of white ink, followed by color inks, and sometimes a final white layer for opacity. This ensures vivid colors on both light and dark garments.
3. Applying Adhesive Powder
While the ink is still wet, sprinkle hot-melt adhesive powder evenly over the printed area. Shake off the excess, then cure the powder under a heat source (usually a heat press or oven) at around 160°C (320°F) for a few minutes. The powder melts and bonds with the ink, creating a transferable layer.
4. Heat Pressing onto Fabric
Set your heat press to 160-170°C (320-340°F) with medium pressure. Place the transfer film on the garment, cover with a Teflon sheet or parchment paper, and press for 10-15 seconds. Let it cool completely before peeling off the film. For best results, use a cold peel (wait until it's cool to the touch).
Materials and Equipment You'll Need
Getting started with DTF transfers requires a modest investment. Here's a checklist:
- DTF printer or access to a DTF printing service.
- DTF ink (CMYK plus white).
- PET film (usually 75-100 microns thick).
- Hot-melt adhesive powder (TPU-based).
- Heat press capable of reaching 170°C (340°F).
- Teflon sheets or parchment paper.
- Heat-resistant tape (optional, for securing transfers).
Tips for Perfect DTF Transfers
Even with the right equipment, small mistakes can ruin your prints. Follow these tips to ensure success:
- Control moisture: Preheat the garment to remove wrinkles and moisture before pressing.
- Use consistent pressure: Uneven pressure leads to patchy adhesion. Adjust your heat press accordingly.
- Test your settings: Every fabric behaves differently. Run a test piece first.
- Store transfers properly: Keep unused transfers in a cool, dry place away from direct sunlight.
- Peel correctly: Cold peel is standard for DTF, but some films are hot peel. Check your film's instructions.
Common Applications of DTF Transfers
DTF transfers are incredibly versatile. They're used for:
- Custom t-shirts, hoodies, and activewear.
- Corporate uniforms and promotional items.
- Personalized gifts like tote bags and pillowcases.
- Small-batch production for online stores.
Because DTF works on so many materials, it's a go-to for businesses that offer diverse product lines.
Frequently Asked Questions About DTF Transfers
How durable are DTF transfers?
When applied correctly, DTF transfers can withstand 50+ washes without fading, cracking, or peeling. Proper washing inside-out in cold water and avoiding bleach will extend their life.
Can I use DTF transfers on dark fabrics?
Absolutely! DTF transfers include a white ink base that makes colors pop on dark backgrounds. This is one of their biggest advantages over DTG printing.
Do I need a special printer for DTF?
Yes, you need a DTF printer that uses DTF inks and can handle PET film. However, you can also order pre-printed DTF transfers from service providers if you don't want to invest in a printer.
What's the difference between DTF and DTG?
DTG prints directly onto the fabric, while DTF transfers are printed onto a film first and then applied. DTF works on more fabric types and doesn't require pretreatment, but DTG can be more cost-effective for 100% cotton items.
How do I store DTF transfers?
Keep them in a cool, dry place, ideally in a sealed bag to prevent dust and moisture. Avoid folding them sharply, as this can damage the adhesive layer.
With this knowledge, you're ready to dive into the world of DTF transfers. Whether you're printing for fun or profit, mastering this technique can set your creations apart. Remember to practice, experiment with different fabrics, and enjoy the process. Happy printing!