
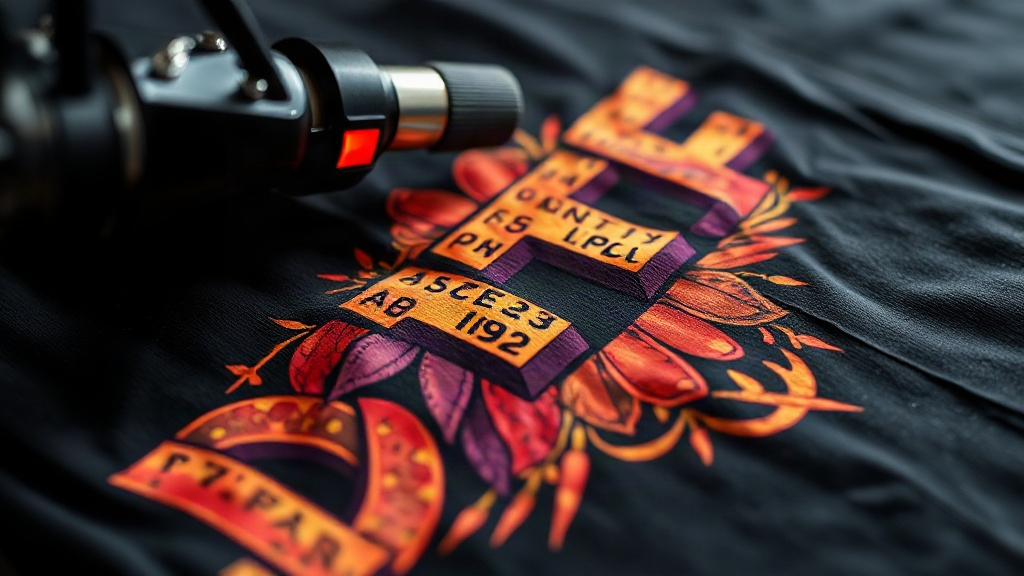
When you first hear about DTF Transfers, you might wonder how they differ from the vinyl or screen-printed shirts you've seen at craft fairs. The truth is, DTF (Direct to Film) transfers have quietly become a favorite among small business owners, hobbyists, and even large apparel brands because they solve a problem that used to be a headache: printing full-color, photographic-quality designs on almost any fabric without the mess of weeding or the cost of screens. In this guide, I'll walk you through what DTF transfers are, why they've gained so much traction, and how to apply them like a pro, even if you're just starting out.
What Exactly Are DTF Transfers?
At its core, a DTF transfer is a printed design on a special film that gets adhered to fabric using heat and pressure. The process begins by printing your artwork onto a PET film using a DTF printer loaded with pigment inks and white ink. A powdered hot-melt adhesive is then applied to the wet ink, and the film is cured. When you're ready to use it, you place the film on your garment, press it with a heat press, and peel away the film, leaving the design bonded to the fabric. The result is a soft, stretchable print that can handle intricate details, gradients, and even photographs.
Why DTF Transfers Stand Out from Other Methods
If you've tried heat transfer vinyl (HTV) or screen printing, you know each has its limitations. HTV requires weeding, which is tedious for complex designs, and it can only be layered so much before it feels thick. Screen printing is cost-effective for large runs but impractical for one-offs or multi-color jobs. DTF transfers bridge the gap: they require no weeding, no screens, and no color limitations. Plus, they work on cotton, polyester, blends, and even treated nylon. That versatility means you can say yes to more customer requests without investing in multiple printing setups.
Durability and Feel
One common concern is how DTF prints hold up over time. When applied correctly, they survive dozens of washes without cracking or fading. The key is proper curing and pressing. The print itself is thin and flexible, so it doesn't feel like a plastic patch on the shirt. In my experience, a well-applied DTF transfer on a cotton t-shirt remains vibrant after 50+ washes, which is comparable to screen printing.
Cost Efficiency for Small Batches
For small businesses, DTF transfers are a game-changer. You can order transfers in small quantities or print them yourself if you have a DTF printer. There's no minimum order like with screen printing, and you don't need to stock dozens of vinyl colors. This makes it easy to offer custom apparel without tying up cash in inventory.
How to Apply DTF Transfers: Step-by-Step
Getting a perfect DTF transfer application isn't rocket science, but it does require attention to detail. Here's a straightforward process that works for most fabrics.
1. Prepare Your Workspace and Garment
Start with a clean, flat surface. Preheat your heat press to the temperature recommended by your transfer supplier, usually between 300°F and 325°F (150°C to 160°C). While it heats, lint-roll your garment to remove any dust or fibers. Pre-press the garment for a few seconds to remove moisture and wrinkles. This step is often overlooked, but it prevents steam from interfering with the adhesive.
2. Position the Transfer
Place the DTF transfer face-up on the garment. If you're using a transfer with a clear carrier film, the design should be readable. If it's a mirrored image, you'll need to flip it. Double-check placement before pressing; once it's down, repositioning is tricky.
3. Press with Medium Pressure
Set your heat press to medium pressure. Too little pressure and the adhesive won't bond; too much and the design can spread or blur. Press for 10-15 seconds. If you're using a home iron, you'll need to apply firm pressure and move slowly, but a heat press is far more reliable.
4. Peel Cool or Hot?
Most DTF transfers are cold-peel, meaning you wait for the film to cool completely before peeling. Some are hot-peel, but cold-peel is more common because it allows the adhesive to set. Gently peel the film starting from one corner. If the design lifts with the film, press again for a few seconds.
5. Post-Press for Durability
After peeling, cover the design with a Teflon sheet or parchment paper and press for another 5-10 seconds. This ensures the adhesive fully cures and the print becomes wash-resistant. Let the garment cool before wearing or folding.
Common Pitfalls and How to Avoid Them
Even with the best instructions, things can go wrong. Here are a few issues I've encountered and how to fix them.
- Design peels off after washing: Usually caused by insufficient pressure or temperature. Increase pressure and check your heat press with a thermometer.
- Color looks dull: Could be due to under-curing. Make sure your DTF printer's white ink is properly maintained and the transfer is fully cured before pressing.
- Adhesive residue on film: If you see a lot of white powder left on the film after peeling, the transfer wasn't pressed long enough. Extend press time by 5 seconds.
Choosing the Right DTF Transfer for Your Project
Not all DTF transfers are created equal. When sourcing, consider the film quality, ink type, and adhesive. Cheaper transfers may use lower-grade inks that fade quickly. Look for suppliers that provide color profiles and recommend specific press settings. If you're printing yourself, invest in a reliable DTF printer and maintain it regularly; clogged printheads are the enemy of consistent results.
Frequently Asked Questions About DTF Transfers
Can I use DTF transfers on dark-colored shirts?
Absolutely. DTF transfers include a white ink layer that makes colors pop on dark fabrics. This is one of their biggest advantages over other methods.
How long do DTF transfers last?
With proper application and care, DTF transfers can last as long as the garment itself. Wash inside out in cold water and avoid bleach to maximize longevity.
Do I need a special printer for DTF transfers?
Yes, DTF requires a printer that uses pigment inks and white ink, along with a powder shaker and curing oven. However, you can also order pre-printed transfers from suppliers if you don't want to invest in equipment.
Can I stretch DTF transfers?
DTF transfers have some stretchability, but they're not as elastic as screen printing. For highly stretchy fabrics like spandex, test a small area first and consider using a stretch additive in the adhesive.
What's the difference between DTF and DTG?
DTG (Direct to Garment) prints directly onto the fabric, while DTF prints onto a film that is then transferred. DTF works on more fabric types and doesn't require pre-treatment, but DTG can be more cost-effective for 100% cotton in large runs.