
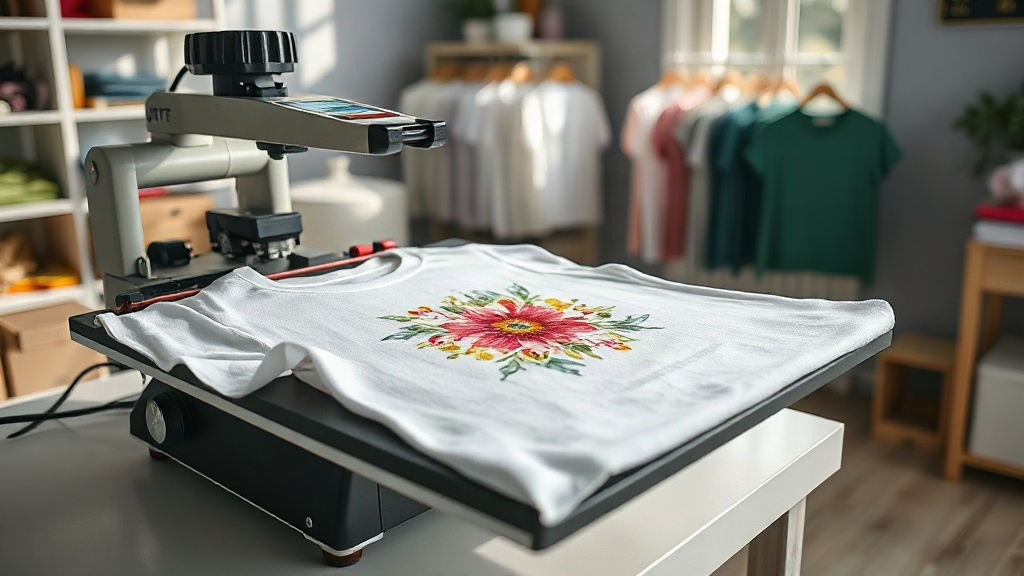
If you've been exploring custom apparel printing, you've likely heard about DTF Transfers. This innovative technology is rapidly becoming a favorite among crafters, small business owners, and DIY enthusiasts. Unlike traditional vinyl or screen printing, DTF transfers offer incredible detail, vibrant colors, and impressive durability, all without the need for specialized equipment. In this guide, we'll walk you through everything you need to know to get started with DTF transfers and achieve professional-looking results right at home.
What Are DTF Transfers?
DTF Transfers (Direct to Film) are a type of heat-applied transfer that allows you to print full-color designs onto a special film, which is then transferred to fabric using a heat press. The process involves printing your design onto a PET film with a specialized DTF printer, applying a hot-melt adhesive powder, and then curing the powder. The result is a flexible, stretchable transfer that can be applied to a wide range of materials, including cotton, polyester, blends, and even some nylons. Unlike DTG (Direct to Garment) printing, which requires pretreatment and works best on 100% cotton, DTF transfers adhere beautifully to almost any fabric, making them incredibly versatile.
Why Choose DTF Transfers?
There are several compelling reasons why DTF transfers have taken the crafting world by storm:
- Vibrant Colors: DTF printers use CMYK plus white ink, allowing for bright, opaque designs on both light and dark garments without the need for separate white underbase screens.
- No Weeding Required: Unlike heat transfer vinyl (HTV), there's no tedious weeding process. You simply print, powder, cure, and press.
- Works on Multiple Fabrics: From 100% cotton to polyester, blends, and even leather, DTF transfers adhere well to a variety of materials.
- Durability: When applied correctly, DTF transfers can withstand repeated washing without cracking, peeling, or fading.
- Cost-Effective for Small Runs: No screens or setup fees make DTF ideal for one-off items or small batches.
How to Apply DTF Transfers: Step-by-Step
Applying a DTF transfer is straightforward, but following the right steps ensures a professional, long-lasting result. Here's what you need to do:
1. Prepare Your Workspace and Materials
Gather your heat press, DTF transfer, garment, and a protective sheet (like parchment paper or Teflon sheet). Preheat your heat press to the recommended temperature, typically around 325°F (160°C).
2. Pre-Press the Garment
Pre-pressing removes moisture and wrinkles from the fabric, ensuring a smooth surface for the transfer. Press for 5-10 seconds.
3. Position the Transfer
Place the DTF transfer onto the garment with the printed side facing up. If your transfer has a white backing, that side goes against the fabric. Use heat-resistant tape to secure it if needed.
4. Press the Transfer
Apply medium to firm pressure and press for 10-15 seconds. The exact time may vary depending on your press and the transfer manufacturer's instructions.
5. Peel the Film
DTF transfers can be peeled either hot or cold, but most modern transfers are designed for cold peel. Wait a few seconds for the transfer to cool slightly, then peel the film away in a smooth, even motion. If any part of the design lifts, press again for a few seconds.
6. Post-Press for Durability
For added durability, cover the transferred design with a protective sheet and press again for 5-10 seconds. This helps the adhesive fully bond with the fabric.
Common DTF Transfer Problems and Solutions
Even with the best techniques, issues can arise. Here are some common problems and how to fix them:
- Transfer not adhering: Increase pressure or temperature, or extend press time. Ensure the garment is pre-pressed and free of moisture.
- Cracking or peeling after washing: This often indicates insufficient pressure or time during application. Try post-pressing and washing the garment inside out in cold water.
- Colors look dull: Ensure you're using high-quality DTF transfers and that your heat press is calibrated correctly. Too low a temperature can prevent the adhesive from fully activating.
- Film difficult to peel: If the transfer is still hot, it may stretch. Wait until it's completely cool before peeling.
Tips for Best Results
To get the most out of your DTF transfers, keep these tips in mind:
- Always test on a scrap piece of fabric before pressing your final garment.
- Store unused transfers in a cool, dry place away from direct sunlight.
- Use a heat press rather than an iron for consistent temperature and pressure.
- Follow the transfer supplier's specific instructions, as formulations can vary.
Frequently Asked Questions
Can I use DTF transfers on 100% polyester?
Yes, DTF transfers work well on polyester. However, because polyester is heat-sensitive, use a lower temperature (around 300°F) and shorter press time to avoid scorching or dye migration.
How long do DTF transfers last?
With proper application and care, DTF transfers can last as long as the garment itself. Wash inside out in cold water and avoid harsh detergents or bleach to maximize longevity.
Do I need a special printer to make DTF transfers?
Yes, DTF transfers require a DTF printer and specialized inks and film. However, you can purchase pre-made DTF transfers from suppliers if you don't want to invest in the equipment.
Can I layer DTF transfers?
Layering is possible but not always recommended, as it can make the design stiff. If you must layer, press each layer separately and use a lower temperature for subsequent layers.
DTF transfers have revolutionized custom apparel printing by making it accessible, versatile, and cost-effective. Whether you're a hobbyist or a small business, mastering DTF transfers can open up a world of creative possibilities. With the right tools and techniques, you'll be producing vibrant, durable designs that impress your customers and friends alike.