
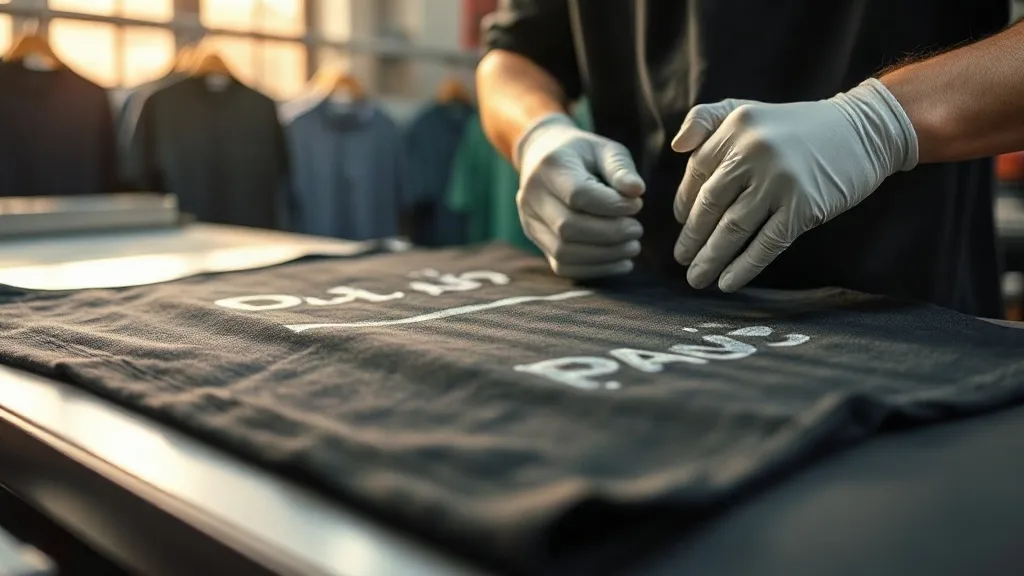
You've dialed in your printer, your color profiles are locked, and your film looks perfect. But when you press that dtf transfers onto a shirt, something goes wrong: the edges lift, the print feels plastic, or the colors look washed out. Pressing is where good intentions meet real-world physics, and even seasoned pros run into trouble. This guide cuts through the guesswork and gives you a systematic approach to diagnosing and fixing the most common dtf pressing problems, so you can stop wasting blanks and start shipping orders with confidence.
Why Pressing Is the Make-or-Break Step
DTF printing gets a lot of attention for its vibrant colors and versatility, but the transfer step is where the magic truly happens. The adhesive powder must melt and flow into the fabric fibers while the PET film releases cleanly. If any part of that dance goes wrong, you get defects that no amount of design tweaking can fix. The good news? Most issues follow predictable patterns, and once you understand the root causes, you can troubleshoot like a pro.
Common Pressing Problems and How to Fix Them
1. The Transfer Peels or Lifts at the Edges
Edge lifting is the most frequent complaint, especially on garments with tight weaves or heavy seams. It usually comes down to three factors: insufficient pressure, uneven pressure, or inadequate heat penetration. Start by checking your press's pressure. You want firm, even contact across the entire platen. A quick test: place a piece of carbon paper between the platens and press. If the imprint is uneven, adjust your pressure or shim the low side. Next, verify that your heat is actually reaching the adhesive. Thick fabrics like hoodies absorb heat, so you may need to increase dwell time by 5-10 seconds. Also, make sure the garment is completely flat; seams and zippers can create high spots that prevent full contact.
2. The Print Cracks or Feels Stiff After Washing
A stiff, cracked print often signals over-pressing or incorrect powder application. If you press too hot or too long, the adhesive can become brittle, and the film may bake onto the fabric, losing flexibility. Check your temperature: most DTF powders activate between 300°F and 330°F (150°C-165°C). Exceeding 340°F can degrade the polymer. Also, ensure you're using the right powder for your film; fine powder works best for detailed designs, while coarse powder suits bold blocks. And don't forget the peel: always peel while the transfer is warm or cold, depending on the film's instructions. Peeling hot can stretch the adhesive and lead to cracking later.
3. Colors Look Dull or Faded After Pressing
If your prints lose vibrancy after pressing, the culprit is often moisture or excessive heat. Moisture trapped in the fabric (from humidity or pre-treatment) can create steam during pressing, which dulls the colors and prevents proper adhesion. Pre-press the garment for 5-10 seconds to remove moisture before applying the transfer. Also, check your press temperature with an infrared thermometer; many presses run hotter than the display suggests. If the film looks slightly glossy or the colors shift, reduce the temperature by 10°F and see if that helps. Finally, ensure you're using a consistent pressing surface; a worn silicone pad can cause uneven heat transfer.
4. The Film Won't Release Cleanly
Sticky film that tears or leaves residue is a sign of incomplete cooling or insufficient pressure. After pressing, allow the transfer to cool completely before peeling. Rushing this step is a common mistake. If the film still fights you, try increasing pressure slightly or extending dwell time by a few seconds. Also, check the film's shelf life; old film can lose its release properties. Store film in a cool, dry place away from direct sunlight.
5. Prints Shift or Move During Pressing
Movement during pressing ruins alignment and can cause double images. Use heat-resistant tape to secure the transfer to the garment, or invest in a press with a vacuum platen. Also, make sure the garment doesn't have any wrinkles or folds under the transfer area. A quick pre-press helps flatten the fabric and remove wrinkles.
Building a Troubleshooting Mindset
Instead of guessing, approach every defect with a process of elimination. Change one variable at a time: temperature, pressure, time, or peel method. Keep a log of your settings for each fabric type. Over time, you'll develop a intuition for what works, and you'll be able to diagnose issues in seconds. Remember, dtf transfers near me searches often lead to local suppliers, but the knowledge to press correctly is universal. Invest in a quality heat press with accurate controls, and don't skimp on maintenance.
Preventive Maintenance for Consistent Results
Your press is a precision tool. Clean the platens regularly to remove adhesive residue, which can cause uneven heat. Check the pressure sensor and recalibrate if needed. Replace worn silicone pads; they're cheap insurance against inconsistent results. And always use a Teflon sheet or parchment paper to protect your press and garments from excess adhesive.
Frequently Asked Questions
Why do my DTF transfers peel after washing even though they looked fine initially?
Peeling after washing usually indicates insufficient adhesion during pressing. This can be caused by low pressure, short dwell time, or pressing at too low a temperature. Ensure you're following the powder manufacturer's recommended settings and that the garment is free of moisture and wrinkles. Also, wash garments inside out in cold water and avoid fabric softeners, which can degrade the adhesive over time.
Can I use a home iron to apply DTF transfers?
While it's possible, a home iron rarely provides consistent pressure and temperature, leading to poor adhesion and durability. For professional results, invest in a heat press. If you must use an iron, use the highest setting without steam, apply firm pressure, and move slowly. But be prepared for mixed results.
How do I know if my press temperature is accurate?
Use an infrared thermometer or a heat press thermometer to verify the actual platen temperature. Many presses have a temperature offset; you can adjust it in the settings. Regularly checking ensures you're not guessing.
What's the best way to store DTF transfers to avoid pressing issues?
Store transfers in a cool, dry place, away from direct sunlight and humidity. Keep them flat to prevent curling. Use them within the recommended shelf life, typically 6-12 months depending on storage conditions.
Why do some fabrics require different pressing settings?
Fabric thickness, weave, and fiber content affect heat transfer. Thick fabrics like canvas or fleece need longer dwell times, while heat-sensitive fabrics like nylon require lower temperatures. Always test on a swatch and adjust accordingly.