
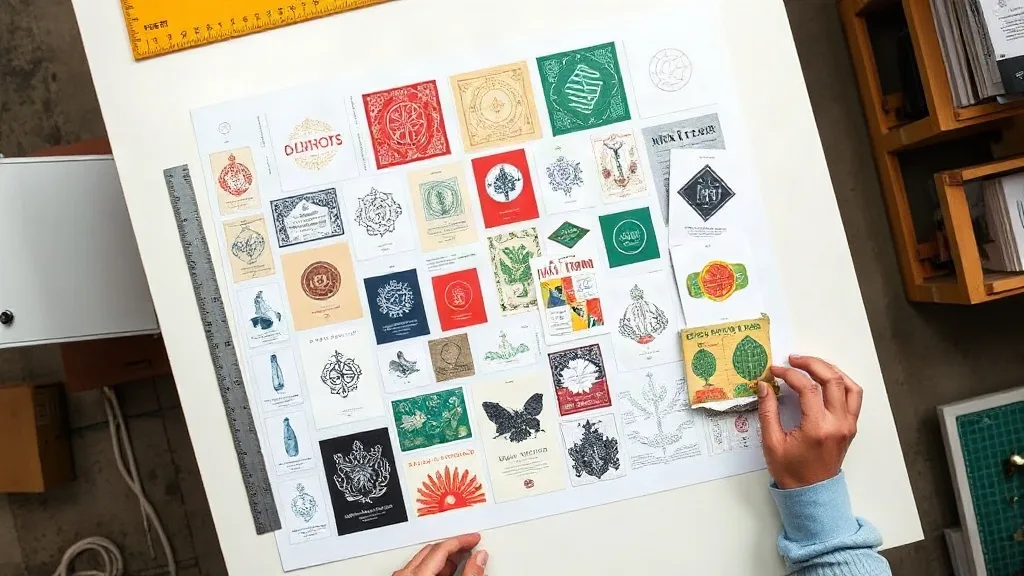
If you run a print shop, you know that every square inch of film counts. The difference between a profitable job and a break-even one often comes down to how well you arrange your designs on a DTF Gangsheet. Smart nesting isn't just about fitting more onto a sheet; it's a strategic approach that can transform your bottom line. In this article, we'll explore how to optimize your gang sheet layouts to reduce waste, save time, and increase your profit margins.
Why Nesting Matters More Than Ever
With rising material costs and increasing competition, print shops need to squeeze every bit of value from their supplies. DTF film, ink, and powder are not cheap, and wasted materials eat directly into your profit. Nesting, the process of arranging multiple designs on a single sheet to minimize empty space, is a critical skill that directly impacts your cost per print. A well-nested gang sheet can mean the difference between a 20% profit margin and a 40% one.
Understanding DTF Gangsheet Basics
Before diving into advanced nesting techniques, let's ensure we're on the same page about what a DTF gangsheet is. A DTF gangsheet is a single sheet of film that contains multiple designs printed together. Instead of printing each design individually, you combine them into one large file, maximizing the use of the film and reducing setup time. This method is especially beneficial for small to medium-sized orders where individual printing would be inefficient.
Key Components of a Gangsheet
- Film: The transparent sheet that holds the printed design.
- Ink: The CMYK and white inks that create the image.
- Powder: The adhesive powder applied to the wet ink to allow heat transfer.
- Layout: The arrangement of designs on the film.
Smart Nesting Strategies to Maximize Profit
Now, let's get into the meat of the matter: how to nest like a pro. These strategies are drawn from real-world experience in busy print shops and can be implemented immediately.
1. Rotate and Align Designs
Sometimes, simply rotating a design 90 degrees can allow it to fit into a tight spot. Don't assume all designs must be upright. Experiment with rotations and alignments to fill gaps. Many RIP software programs have auto-nesting features, but manual adjustments often yield better results.
2. Group Similar Sizes
If you have multiple designs of the same size, group them together. This creates a more uniform layout and reduces the chances of awkward gaps. For example, if you're printing 20 small logos, arrange them in a grid pattern rather than scattering them randomly.
3. Utilize Negative Space
Look for negative space within and around designs. Sometimes, a design has a large empty area that can accommodate a smaller design. However, be careful not to overlap designs unless you intend to cut them apart later. Overlapping can cause ink bleeding and ruin both designs.
4. Plan for Cutting
Consider how you'll cut the gang sheet after printing. Leave enough space between designs for clean cuts. A common mistake is nesting designs too closely, making it difficult to trim without damaging the edges. A good rule of thumb is to leave at least 0.25 inches between designs.
5. Use Nesting Software
Invest in dedicated nesting software if you're doing high-volume work. These programs use algorithms to find the most efficient layout, saving you time and reducing waste. Some RIP software includes nesting features, but standalone tools like Tiler or gang sheet builders offered by DTF suppliers can be more powerful.
Calculating the True Cost of a Gangsheet
To make informed decisions, you need to know your costs. Here's a simple formula to calculate the cost per design on a gangsheet:
- Calculate the total cost of film, ink, and powder for one sheet.
- Divide by the number of designs on the sheet.
- Add labor and overhead.
For example, if a sheet costs $10 in materials and contains 50 designs, the material cost per design is $0.20. If you waste 20% of the sheet, the effective cost per design rises to $0.25. Over hundreds of prints, that adds up.
Common Nesting Mistakes to Avoid
Even experienced printers fall into these traps. Watch out for:
- Overlapping designs: As mentioned, this can cause ink smudging and wasted transfers.
- Ignoring grain direction: DTF film has a grain, and printing against it can affect adhesion. Always align designs with the grain.
- Forgetting bleed: Leave a little extra around each design for cutting tolerance.
- Not updating software: Nesting algorithms improve with updates; keep your tools current.
Case Study: How One Shop Increased Profit by 30%
A small print shop in Texas was struggling with tight margins. By implementing a strict nesting protocol, they reduced film waste from 25% to 10%. They achieved this by training staff on manual nesting techniques and investing in better software. The result was a 30% increase in profit within three months. The key was consistency: every job, no matter how small, was nested with care.
Frequently Asked Questions
What is the ideal spacing between designs on a DTF gangsheet?
A minimum of 0.25 inches (6.35 mm) is recommended to allow for clean cutting and to prevent ink from bleeding between designs.
Can I nest designs of different sizes on the same sheet?
Absolutely. In fact, mixing sizes often leads to better film utilization. Just ensure that smaller designs are placed in gaps around larger ones.
How do I calculate the ROI of investing in nesting software?
Estimate your current film waste percentage and the cost of materials. Then, estimate the waste reduction from using the software. If the savings over a year exceed the software cost, it's a good investment.
Is it better to nest manually or use auto-nesting?
Auto-nesting is faster, but manual nesting can be more efficient for complex layouts. Many shops use a combination: auto-nest first, then manually adjust for optimal fit.
What file format is best for gangsheet printing?
PDF and TIFF are commonly used, but check with your DTF supplier for their preferred format. Ensure all designs are high resolution (300 DPI) and in CMYK color mode.