How to create DTF transfers opens new possibilities for garment decoration with vibrant color, a soft hand feel, and broad fabric compatibility. For designers and small shops, mastering this method can unlock durable designs on T-shirts, hoodies, totes, and more. This guide emphasizes DTF printing considerations, DTF transfer film quality, heat press settings for DTF, ink choices, and DTF powder adhesion to help you achieve consistent results. You’ll learn practical tips on color management, placement, curing, and troubleshooting to minimize common failures. By following a simple, repeatable workflow, you’ll deliver professional results that stand up to washing across a range of fabrics.
Beyond the term direct-to-film printing, this film-based transfer method uses a PET sheet, adhesive powder, and heat to imprint vibrant designs on a variety of fabrics. Practitioners optimize substrate choice, alignment accuracy, and curing routines to deliver a durable, soft finish on apparel such as tees, hoodies, and bags. Using related terms like transfer-on-film, digital-to-fabric printing, and powder-coated sheets helps you structure content for search engines while reflecting the same core process in your explanations.
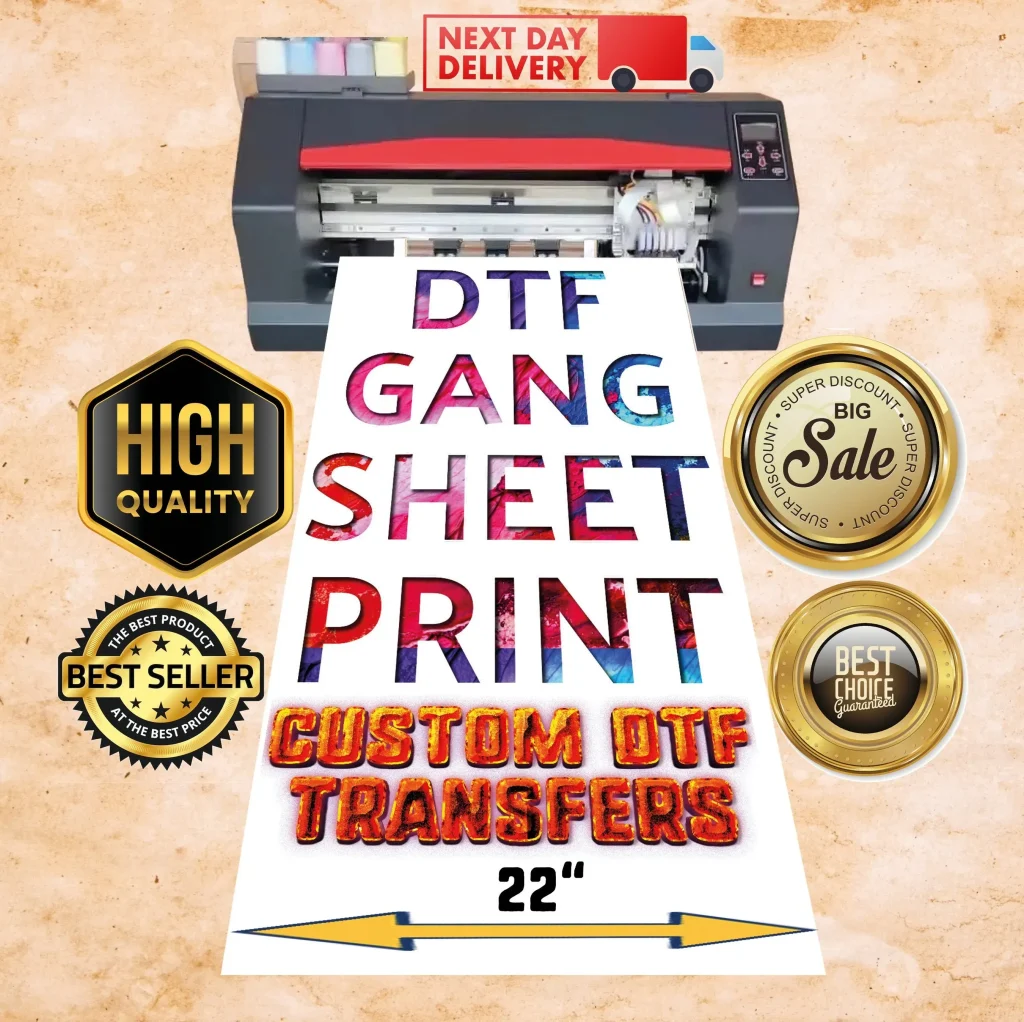
DTF Printing Fundamentals: From Design to Durable Transfers
DTF printing centers on using a PET transfer film, white ink, and color inks to create vibrant images that can bond to a wide range of fabrics. Understanding the core workflow—from design planning to final press—helps you optimize color, edge detail, and durability. Emphasize clean film, accurate ink density, and reliable equipment to lay a solid foundation for every transfer.
In practice, success starts with material selection and workflow discipline. Calibrated color management, high-quality film, and consistent powder handling influence how closely your printed result matches the on-screen design. By aligning your setup with the fundamentals of DTF printing, you’ll reduce reprints and build confidence in delivering consistent outcomes for shirts, hoodies, and more.
Materials Matter: Film Quality, Inks, and Powder for Consistent Results
Choosing the right materials is essential for repeatable DTF transfers. Prioritize a reliable DTF transfer film that offers clear image reproduction and minimal grain, paired with textile-grade white ink and compatible color inks. The adhesive powder should be uniform in particle size and purity to ensure smooth transfer without clumps or white specks.
Beyond the film and ink, the curing method and storage conditions influence long-term performance. Keep powders dry and films protected from humidity, and select curing equipment that delivers controlled heat to activate the adhesive evenly. When you pair quality materials with a disciplined workflow, edge crispness and color fidelity improve across batches.
How to Create DTF Transfers: Design, Color Management, and Pre-Press essentials
How to create DTF transfers starts with thoughtful design planning and solid color management. Use scalable vector artwork for logos and crisp type, or high-resolution imagery at 300 DPI+ for photographic elements. Calibrate monitors with a standard color profile, convert fonts to outlines when possible, and perform test swatches to verify color accuracy before committing full sheets.
Pre-press decisions also set the stage for success. Consider the fabric color and plan an appropriate base or underbase to achieve opacity on dark textiles. A mirrored design in your software helps you align the transfer precisely on the garment, ensuring clean edges and consistent placement during the press step.
Maximizing DTF Transfer Film Quality and Print Settings for Crisp Results
Film quality directly affects edge detail, color density, and overall appearance. Optimize print settings by selecting a suitable color profile, maintaining 300–600 DPI resolution, and ensuring the film path is clean and properly aligned. When the film is high quality, the printed image exhibits sharper edges and more accurate color reproduction on both light and dark fabrics.
In addition to film quality, printer setup matters. Regular maintenance, proper ink density, and accurate calibration help you achieve predictable results. Testing with small swatches before committing to a full sheet lets you refine density, white ink opacity, and color balance, ensuring a reliable baseline for larger runs.
DTF Powder Adhesion and Curing: The Key to Durable, Wash‑Safe Transfers
DTF powder adhesion is the unseen backbone of durability. Apply a uniform layer of adhesive powder while the ink is still tacky, using a shaker or sifter to avoid clumps. The powder should cover all printed areas evenly to promote consistent bonding to fabric during transfer.
Curing the adhesive powder properly is equally crucial. Use a hot air oven, curing lamp, or another controlled heat source to fix the powder before transfer. Allow the film to cool completely before handling, and follow the supplier’s guidance on cure times to minimize powder shedding and ensure long-lasting adhesion.
Heat Press Settings for DTF: Temperature, Time, and Pressure for Perfect Finish
The heart of a quality finish lies in precise heat press settings. Start with recommended ranges around 160–170°C (320–340°F) for 15–25 seconds and moderate pressure to avoid scorching, especially on synthetic fabrics. Adjust dwell time and temperature for different fabrics and color layers to maintain color integrity and edge stability.
Routine checks during pressing help prevent common issues like color bleed, edge lifting, or surface cracking. Use a consistent pressing routine, monitor edge alignment, and verify that the press delivers even heat across the entire transfer. A final test on a sample garment before large production runs can save time and reduce waste while delivering a durable, professional finish.
Frequently Asked Questions
What is DTF printing and how do you create DTF transfers?
DTF printing uses a PET transfer film, white and color inks, and adhesive powder to produce a design that’s transferable to many fabrics. To create DTF transfers, begin with design planning, print with a proper color profile at suitable resolution, apply adhesive powder evenly, cure the powder, and finish with a heat-press transfer onto the garment following fabric-specific settings.
How can you assess DTF transfer film quality before production?
DTF transfer film quality influences edge sharpness, color clarity, and opacity. Check film clarity, even ink deposition, and consistent transparency across the sheet. Choose films designed for DTF printing and verify compatibility with your inks and printer before large runs.
What heat press settings for DTF should I start with for common fabrics?
A practical starting point is about 160–170°C (320–340°F) for 15–25 seconds with moderate pressure (roughly 10–15 psi). Cotton and cotton blends may need slightly longer dwell times, while synthetic fabrics may require lower temperatures. Always adjust based on fabric type and adhesive film guidelines.
Why is DTF powder adhesion important and how can you improve it?
DTF powder adhesion determines how well the image sticks to fabric and how durable the transfer will be. Ensure an even, light dusting of adhesive powder, cure it properly, and avoid clumps that can cause uneven transfer. Use a consistent curing method (hot air, lamp, or other recommended heat source) and allow the film to cool before handling.
What are common issues in DTF printing and how can I troubleshoot them?
Common issues include fading colors or weak adhesion, white halos, edge cracking, and powder shedding. Troubleshoot by verifying cure time and temperature, ensuring even powder distribution, checking ink density and color management, and confirming fabric compatibility and film quality.
How do I maintain DTF transfer film quality and ensure color consistency across runs?
Regular maintenance includes calibrating printers, cleaning print heads, and using high-quality transfer films and compatible adhesive powders. Store films in a cool, dry place, and keep a swatch library to compare color and edge details across runs for consistent results.
| Topic | Key Point | Notes |
|---|---|---|
| Introduction to DTF transfers | DTF transfers use a PET film and adhesive powder to apply a printed image to many fabrics; they offer vibrant color, soft hand feel, and broad fabric compatibility. | Useful for durable designs on T-shirts, hoodies, tote bags, and more; overview of the step-by-step process from design to pressing. |
| Why DTF transfers are appealing | Bold color reproduction, good durability, and a flexible workflow suited for small shops and fast turnarounds. | Works across a wide range of fabrics; supports quick project completion and scalable production. |
| Required tools and materials | Printer capable of printing on PET film, DTF transfer films, white and color inks, adhesive powder, a powder shaker, curing option, heat press, transfer sheets, silicone sheet, heat-resistant tape, cleaning supplies. | Quality matters: printer maintenance, film clarity, ink density, and powder consistency affect color, edge detail, and durability. |
| Design planning & color management | Start with scalable artwork (vector for logos/text; 300 DPI+ for photos). Calibrate monitor and use a consistent color profile. Convert fonts to outlines and test print swatches. | Consider fabric color and plan for an opaque white underbase on dark fabrics; mirror design for transfer alignment. |
| Print settings & preparation | Set correct color profile, 300–600 DPI, clean film feed. Do test prints to verify density, color balance, and edge sharpness. Plan powder step after printing. | Ensure vibrant colors and solid white areas; prepare for even adhesive powder application. |
| Powder adhesion & curing | Apply adhesive powder evenly to tacky printed film; distribute evenly to avoid clumps. | Cure the powder with a hot air oven, curing lamp, or controlled heat; let film cool before handling. |
| Preparing the fabric & alignment | Pre-press garment to remove moisture and heat the surface. Align printed sheet with tape; ensure centered, wrinkle-free placement. | A cover sheet between film and garment can reduce friction and scorching risk. |
| Transfer & pressing | Set heat press to recommended temp/dwell time (typical start ~160–170°C for 15–25 seconds; 10–15 psi). | Perform hot or cold peel per film/spec; ensure edges stay flat and colors stay vibrant. |
| Post-press finishing & curing on fabric | Optional second press for durability; follow adhesive powder supplier’s cure time and wash guidelines. | A brief room-temperature cure can help bonding; adhere to product guidelines to protect fabric. |
| Quality checks & color consistency | Inspect edge integrity, color saturation, and absence of white halos; verify opaque underbase on dark fabrics. | Maintain a swatch library and document adjustments for future consistency. |
| Troubleshooting common issues | Fading colors/weak adhesion; white halos; peeling; powder shedding. | Revisit curing, powder application, and film compatibility; adjust temperature, time, and density as needed. |
| Best practices for longevity & maintenance | Regular printer calibration, high-quality films/powders, cool/dry storage, and routine product checks. | Document standard operating procedures to keep batches consistent across runs. |
| Common mistakes to avoid | Skipping pre-press/moisture removal; overloading powder or under-curing; using incompatible fabrics; rushing the process. | Pre-emptive steps prevent adhesion issues and improve durability and color fidelity. |
Summary
This table summarizes the core concepts from the base content about Direct-to-film (DTF) transfers, including the process flow, required tools, key decisions, quality checks, troubleshooting, and best practices for durable, high-quality garment decoration.

