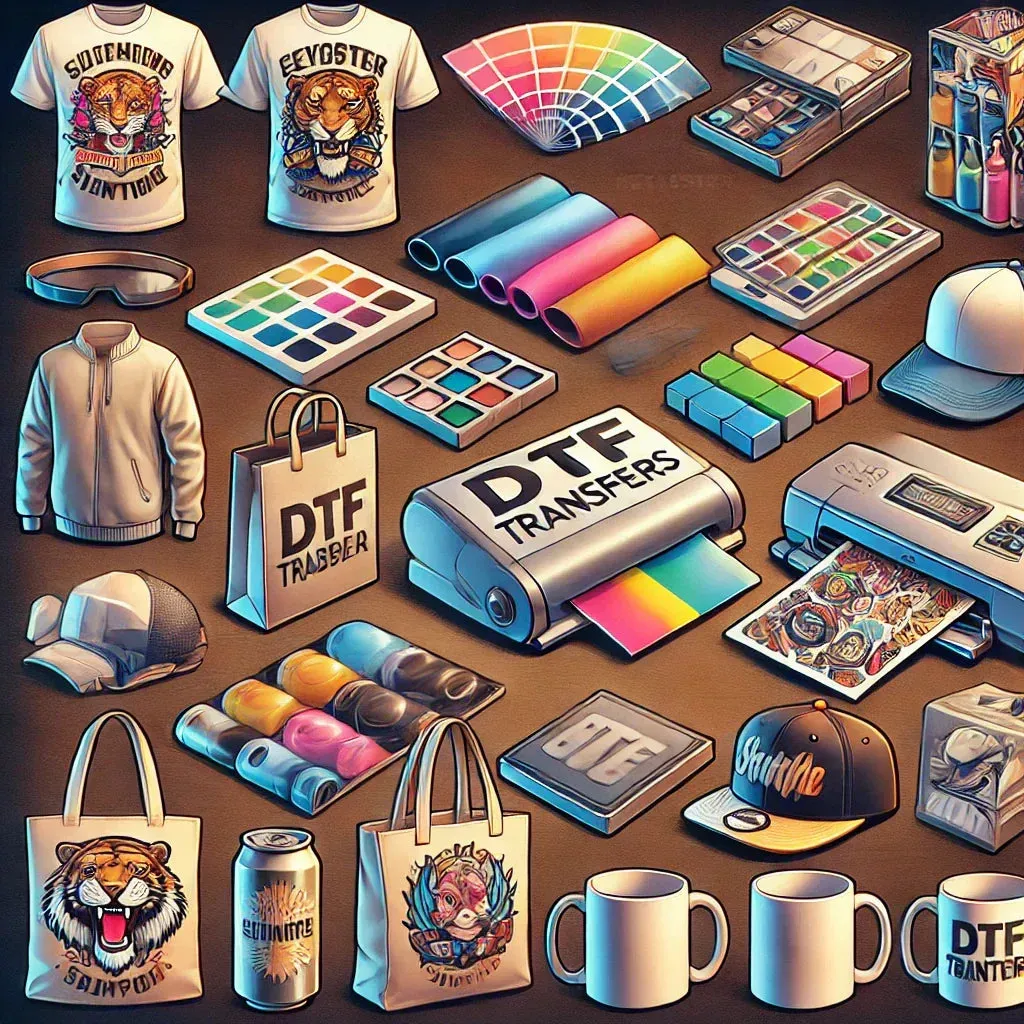
DTF transfers provide a vibrant, durable option for apparel customization across a wide range of fabrics, delivering a soft-hand feel that rivals traditional methods while offering excellent color control. Direct-to-Film printing simplifies color-rich designs by printing onto a specialized film that is subsequently transferred to fabric with heat, enabling crisp multi-color artwork on everything from cotton tees to blends. This guide highlights the DTF transfer process steps and explains how the technology moves from film to fabric in practical terms for shops of every size. By understanding the fundamentals of the process and the overall workflow, you can maximize color accuracy, adhesion, and wash-fastness, while keeping costs manageable for your projects. This post will cover what DTF transfers are, the equipment you’ll need, a practical step-by-step tutorial, and troubleshooting tips to help you master heat pressing DTF transfers for diverse fabrics and designs.
Beyond the term DTF transfers, this approach is often described as a film-based transfer technique that places a printed design on a transparent carrier and bonds it to fabric using heat and pressure. In Latent Semantic Indexing terms, related phrases include Direct-to-Film printing, film-on-fabric transfers, print-on-film technology, and digital-to-fabric workflows, all pointing to the same core method. This section introduces the topic through these related concepts to help you connect ideas across content and search queries, building a richer, more discoverable resource. By framing the process around terms such as transfer film, adhesive powder, heat activation, and proper post-press care, you create a semantically strong narrative that guides readers and engines alike.
Direct-to-Film Printing Essentials: Understanding DTF Printing and How It Works
Direct-to-Film printing is a transfer-based method that prints a design onto a transparent film using water-based inks. The resulting image is then transferred to fabric via heat pressing, delivering vibrant color and a soft hand feel. This approach sits within the broader realm of DTF printing basics and offers flexibility across a wide range of fabrics.
In practice, the workflow starts with artwork preparation and color management, then printing on the film, applying adhesive powder, curing, and finally heat pressing to the garment. Using a DTF printer and RIP software helps control color profiles and maintain consistency with the goals of Direct-to-Film printing. Understanding these core concepts will help you compare DTF transfers with other methods and plan reliable production.
Grasping how DTF transfers work lays the groundwork for choosing the right equipment and process settings. By aligning design, film quality, and powder curing, you can optimize color accuracy, adhesion, and wash-fastness while keeping costs manageable.
DTF Printing Basics: Key Materials, Films, and Powder for Reliable Results
DTF printing basics center on selecting the right materials. The DTF film, adhesive powder, and a dependable curing system are essential for clean release, strong adhesion, and stable results during heat pressing. Consistency in these components directly affects repeatability across batches.
Core equipment includes a DTF printer with RIP software to manage color profiles, a quality heat press, and a reliable curing setup for the powder. Start with test swatches to verify color accuracy and adhesion on your target fabrics before moving to larger runs.
Choosing fabrics thoughtfully and building a fabric swatch library is a practical aspect of DTF printing basics. Cotton, polyester blends, and other textiles each respond differently to heat and adhesive, so documenting outcomes helps guide future color matching and finish quality.
DTF Transfer Process Steps: A Practical 6-Step Workflow for Consistent Outputs
DTF Transfer Process Steps describe a practical workflow that covers the entire path from artwork to finished garment. A structured 6-step process helps stabilize results, simplifies troubleshooting, and supports scalable production.
Step 1 and 2 focus on preparing artwork and printing on the DTF film with the chosen color profile. Step 3 and 4 involve applying and curing the adhesive powder, while Steps 5 and 6 address aligning the film on the garment and performing the heat press transfer. Following these steps consistently improves repeatability across batches.
Always consult manufacturer guidelines for temperatures and times and run small test prints before committing to large orders to minimize waste and ensure color accuracy.
How DTF Transfers Work: Mechanisms, Adhesion, and Finish on Different Fabrics
How DTF transfers work involves printing the design onto a transparent film with water-based inks, then applying adhesive powder to the image. After curing, the film is peeled away, leaving the powder-coated image on the garment surface ready for heat pressing into the fabric.
During heat pressing, the adhesive powder bonds the printed image to the fabric, producing a soft hand feel and vivid colors with good durability. This mechanism tends to be versatile across a range of fabrics, offering reliable adhesion when the curing and finishing steps are performed correctly.
Understanding how DTF transfers work helps in making design decisions and selecting compatible fabrics, powders, and heat press settings to optimize finish and longevity.
Heat Pressing DTF Transfers: Settings, Timing, and Fabric Considerations for Best Results
Heat pressing DTF transfers requires precise settings to ensure proper adhesion and color fidelity. Typical guidelines suggest 155–165°C (311–329°F) for about 10–20 seconds, but exact parameters vary by film, adhesive powder, and fabric. Always follow the powder manufacturer recommendations and perform small tests to calibrate dwell time and temperature.
Fabric considerations matter the most when heat pressing DTF transfers. Natural fibers like cotton can yield vibrant results, while polyester and blends may require different dwell times and pressure. Pre-press the fabric to remove moisture and set the stage for an even transfer, then press with firm, even pressure and allow the garment to cool before handling.
Additional best practices include verifying even contact across the print area, avoiding scorching, and implementing a post-press care routine for customers to preserve vibrancy and adhesion over time.
Troubleshooting and Best Practices for DTF Transfers Across Fabrics and Colors
Troubleshooting DTF transfers focuses on maintaining color accuracy and adhesion across fabrics. When colors look dull or misregistered, recalibrate your color management, calibrate printer profiles, and build a fabric swatch library to guide adjustments. Consistent test prints on each fabric type reduce surprises in production.
If edges crack or peel, re-evaluate powder application, cure time, and heat press parameters. Regular maintenance of the printer, film storage, and powder handling reduces defects. Document changes as part of clear standard operating procedures so future batches follow proven methods.
DTF transfers also demand attention to safety and workflow discipline. Use appropriate PPE, ensure proper ventilation for inks and powders, and train staff to follow documented SOPs to sustain high quality across projects.
Frequently Asked Questions
What are DTF transfers and how does Direct-to-Film printing work?
DTF transfers are a transfer-based method that uses Direct-to-Film printing to print designs onto a specialized film using water-based inks, followed by applying an adhesive powder and heat transfer to the fabric. After curing, the film is peeled away, leaving a powder-coated image that’s transferred with heat. The result is vibrant colors, a soft hand, and good durability across many fabrics, making Direct-to-Film printing a flexible option within DTF printing basics.
What are the key steps in the DTF transfer process?
The core DTF transfer process steps are: 1) prepare artwork and color management, 2) print on the DTF film with the correct color profile, 3) apply adhesive powder evenly, 4) cure the powder and remove excess, 5) align the film with the garment, and 6) heat press the transfer and finish. Always follow manufacturer guidelines for temperatures and times and test on similar fabrics.
What equipment and materials do I need for DTF transfers?
Essential equipment for DTF transfers includes a DTF printer with RIP software, DTF film, adhesive powder, a curing system, a reliable heat press, and appropriate garments or backings. Also include cleaning supplies and safety gear. A well-organized workspace and SOPs help ensure consistent results.
How do DTF transfers compare to other transfer methods like DTG?
DTF transfers typically offer a different balance of speed, cost, and fabric compatibility compared with DTG and vinyl transfers. They usually provide strong adhesion across a variety of fabrics, a soft hand feel, and often reduce pretreatment on certain fabrics, making them a strong option within the DTF transfers ecosystem.
How should I care for fabrics with DTF transfers to maximize longevity?
To maximize longevity, ensure proper curing of the adhesive powder and use correct heat-press parameters. After printing, allow full cooling, then follow care instructions: turn the garment inside-out, wash in cold water on a gentle cycle, and avoid high-heat drying. Clear post-care guidance helps preserve vibrancy and adhesion for DTF transfers.
What are common troubleshooting tips for heat pressing DTF transfers?
Common issues can include faded colors, edge cracking, or poor adhesion. Troubleshoot by verifying color profiles and ink density, ensuring even powder application and proper curing, and checking film alignment during transfer. Adjust heat press temperature, time, and pressure for different fabrics, and run small test prints before large batches.
| Aspect | Key Points |
|---|---|
| What are DTF transfers? | Direct-to-Film printing is a transfer-based method that prints a design onto a transparent film using water-based inks, then applies a bonding powder and heat to transfer the image to fabric. Results include a soft hand feel, vivid colors, and good durability; it’s a flexible alternative to DTG and other transfer methods. |
| Why choose Direct-to-Film printing? | DTF offers a cost-effective way to produce multi-color designs with strong adhesion across a variety of fabrics, often with fewer pretreatment steps than DTG, and it can handle color-rich designs efficiently. |
| Materials and equipment you’ll need | – DTF printer and RIP software: for accurate color management – DTF film: for clean release onto fabric – Adhesive powder: binds ink to fabric during transfer – Curing system: dries/pastes powder to prevent clumping – Heat press: provides adjustable temperature, time, and pressure – Garments and backings: varying fabrics require calibration – Cleaning supplies and safety gear: PPE and lint-free tools – Organized workspace and clear SOPs: improve efficiency |
| Step-by-step guide (6 steps) | 1) Prepare artwork and color management: optimize for target garment and calibrate monitors/printers. 2) Print on the DTF film: use the appropriate color profile; decide on white underbase as needed. 3) Apply adhesive powder evenly: coat while ink is tacky; use a shaker for uniform coverage. 4) Cure or bake the powder and clean up excess: cure per manufacturer; brush off loose powder. 5) Align the film with the garment: position carefully; use tape or spray adhesive if needed. 6) Heat press the transfer: typical 155–165C for 10–20s; press until fully adhered; peel while hot/warm as appropriate. |
| Tips and best practices for consistent results | – Regular color management: calibrate monitor/printer and test swatches on each fabric. – Test on sample textiles: document fabric-specific results. – Fabric choice affects durability: test different materials for adhesion. – Pre-press and moisture control: remove moisture to improve adhesion. – Post-press care: let garments cool and provide laundering instructions. – Troubleshooting: verify color profiles and powder curing if issues arise. |
| DTF transfers compared to other methods | DTF balances speed, cost, and flexibility vs. DTG and vinyl transfers. It offers strong fabric adhesion, soft hand feel, and reliable results across fabrics, with potential fewer pretreatment steps and broader applicability for color-rich designs. |
| Common questions about the process | – Can I use any printer? A printer compatible with the DTF workflow and RIP software, often with white ink if needed. – Is DTF better than DTG for certain fabrics? DTF can be easier for a wider range of fabrics and may require less pretreatment. – How long do DTF transfers last? Durability depends on powder, heat parameters, fabric, and laundering care. – Safety concerns? Follow manufacturer guidelines for ventilation, PPE, and safe handling of powders and inks. |
Summary
In addition to the table, a descriptive conclusion about DTF transfers follows to summarize the topic and reinforce key takeaways for readers exploring DTF transfers.

