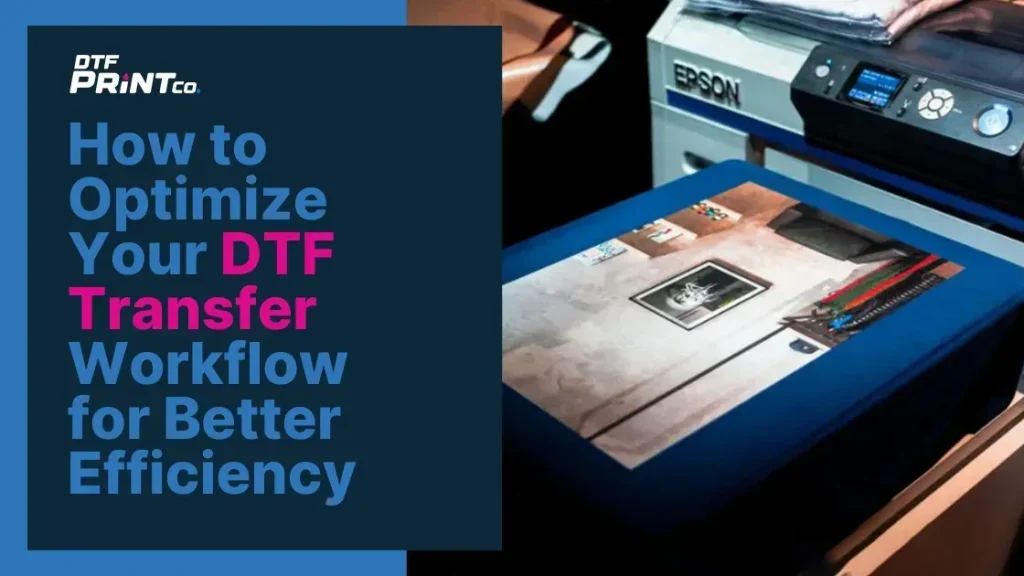
DTF transfer workflow is the backbone of turning ideas into durable, vibrant garments customers love. It guides the journey from concept and design through prepress, printing to film, and powder application, highlighting DTF printing steps, the direct-to-film workflow, and DTF heat press tips. A well-defined workflow helps predict outcomes, reduce waste, and speed up fulfillment across orders. The approach ensures color accuracy, material compatibility, and a smooth handoff from design to finished product, aligning the DTF transfer process with real-world production. For shop owners, following this structured workflow—from concept through customer delivery—drives quality, consistency, and scalable growth, with clear references to design-to-production.
Another way to describe this workflow is a film-to-garment sequence, a textile decoration pipeline that moves artwork from digital file to finished apparel. From an LSI perspective, terms like fabric printing steps, transfer process, and heat press tips broaden the concept without changing meaning. Think of it as a design-to-production continuum where prepress, printing, curing, and transfer are linked as a single, repeatable system. Using these alternative phrases helps readers and search engines connect related topics such as substrate compatibility, material handling, and quality control throughout the project.
From Concept to Production: Aligning Design with DTF Printing Steps and Design-to-Production
A clear concept is the foundation of a successful DTF project. By translating ideas into production-ready artwork, you can align design intent with the practical realities of DTF printing steps, ensuring color accuracy, scalable logos, and appropriate resolution for final output. Emphasize a clean brief, organized layers, and transparent color management so the design-to-production handoff remains smooth, predictable, and faithful to the original concept.
Early alignment between design and production minimizes revisions and accelerates the DTF transfer process. Establish file naming conventions, embedded fonts, and proofing steps that anticipate how the film will print and cure. When design-to-production is tightly integrated, your team can reduce waste, shorten lead times, and deliver a product that matches the envisioned concept without surprises at final delivery.
DTF Transfer Workflow: Prepress, Color Management, and Production Readiness
Prepress is where your artwork starts to meet the printer bed. Validate image resolution, ensure color accuracy, and tailor output settings to your DTF printer and film. Create a test strip that highlights key color blocks, gradients, and halftones to benchmark color adjustments before committing to full runs, reinforcing a robust DTF transfer workflow.
Color management is central to predictable results. Use printer profiles, ICC workflows, and consistent RIP settings to reproduce colors accurately on fabric. Document workflow decisions that bridge design-to-production expectations and incorporate proofing on representative fabric swatches to minimize color drift and misalignment during production.
Printing to Film and Powder Application: Executing the DTF Transfer Process
Printing to film is the core of the DTF transfer process. Use reliable DTF inks, compatible film, and quality rollers or print heads to achieve sharp details and vibrant color. Focus on solid fills, fine lines, and smooth gradients, ensuring the print translates well once the powder adhesive is applied.
After printing, apply the powdered adhesive evenly across the film and allow it to cure according to material specifications. A controlled curing step stabilizes the image for transfer and reduces issues during handling. If you encounter clumping or uneven adhesion, revisit drying temperature, airflow, and powder thickness to maintain a consistent DTF transfer outcome.
Substrate Readiness and Alignment for Direct-to-Film Workflow
Prepare the garment or substrate with care before transfer. Preheat to the recommended surface temperature and use precise alignment methods to prevent misregistration. A well-aligned setup supports repeatable results across orders and reinforces the efficiency of the direct-to-film workflow.
Fabric type matters: cotton, blends, and synthetics respond differently to heat and pressure. Tailor platen temperature, pressure, and dwell time to the substrate, and perform multiple controlled test transfers on swatches that resemble typical customer orders. This approach refines alignment, reduces waste, and ensures dependable outcomes in production.
DTF Heat Press Tips: Temperature, Time, and Pressure for Durable Transfers
Heat press settings are a pivotal part of the DTF transfer workflow. Follow manufacturer guidelines for temperature, dwell time, and pressure, and validate with test transfers on representative fabrics. Maintain consistent heat distribution, use a protective sheet, and monitor edge details to preserve color vibrancy and image integrity.
Small adjustments in heat press parameters can yield measurable improvements in finish and durability. Calibrate dwell time, platen pressure, and transfer sequence for each material type, and consider the impact of powder thickness and film characteristics. Regularly review heat press tips with your team to reduce ghosting, curling, or texture that can compromise the final look.
Quality Control, Troubleshooting, and Finishing in a Direct-to-Film Process
Quality control is an integrated discipline that anchors consistent results. Implement a checklist covering color accuracy, adhesion, placement, and finish, using swatch catalogs and garment samples to compare against proofs. Documenting outcomes helps standardize the direct-to-film process and accelerates problem-solving when orders vary.
Troubleshooting should be routine and data-driven. When issues like color bleeding, edge fringing, or misregistration arise, record the substrate, ink set, powder type, and heat settings, then apply corrective actions such as recalibrating color balance, adjusting powder thickness, or refining transfer time. A robust QC framework reduces returns and supports scalable production while preserving design intent.
Frequently Asked Questions
What is the DTF transfer workflow and how does it guide design-to-production from concept to finished garment?
The DTF transfer workflow is the end-to-end process that moves a concept through design, prepress, printing to film, powder application, transfer, finishing, and delivery. It ensures color accuracy, material compatibility, and a smooth handoff from design to production, aligning creative intent with manufacturing constraints in a design-to-production pipeline.
What are the DTF printing steps in the transfer workflow to ensure crisp color and durable results?
Key DTF printing steps include preparing art with proper layers and resolution, printing to film with correct ink and film, applying even powder, and curing before transfer. Following these steps within the transfer workflow helps reproduce solid fills, fine lines, and smooth gradients with consistent adhesion and longevity.
How does the direct-to-film workflow influence color management during the DTF transfer process?
The direct-to-film workflow emphasizes color management at every stage—converting artwork to a printer-friendly color space, configuring RIP settings, and proofing on fabric swatches. This controls color drift between film and garment, ensuring predictable results across the DTF transfer process.
What DTF heat press tips can improve transfer quality within the workflow?
DTF heat press tips include using the recommended temperature, dwell time, and pressure for your film and fabric, applying even pressure with a protective sheet, and performing test transfers to refine settings. These tips reduce ghosting, edge misregistration, and color shifts in the overall workflow.
How does design-to-production ensure a smooth DTF transfer workflow from concept to customer?
Design-to-production starts with a clear brief, scalable vectors, and properly organized layers to prevent last-minute changes. Preflight checks, embedded fonts, and color management align the design with production capabilities, helping you predict outcomes and minimize revisions throughout the DTF transfer workflow.
What QC steps are essential in the DTF transfer process to maintain consistency across orders?
essential QC steps include a standardized color check, adhesion and edge inspection, and comparing against proof standards using garment swatches. Document common issues and corrective actions, build a problem-solution library, and perform routine checks to ensure consistent results across the DTF transfer process.
| Step | Focus | Key Points |
|---|---|---|
| Step 1: Concept and Design | Clarify product, audience, and color expectations; scalable vectors; layered structure | Define product/audience; clear brief; scalable logos; 300 dpi+ at final size; color management; organize layers; preflight checks |
| Step 2: Preparation and Prepress | Validation of image resolution and color accuracy; prepress readiness | Test strip for key colors/gradients; no-stretch layout; substrate/film selection; RIP settings; color management; small color proof |
| Step 3: Printing to Film and Powder Application | Printing quality and powder handling | Use quality inks/film; reproduce solid fills/gradients; apply powder evenly; cure; watch for clumping; adjust drying temp/airflow |
| Step 4: Preparing for Transfer: Substrate Readiness and Alignment | Preheat; precise alignment; measurement tools | Tailor by fabric type (cotton, blends, polyester); maintain platen pressure/heat distribution; run multiple test transfers; ensure proper registration |
| Step 5: Heat Press Transfer: Execution and Timing | Control temperature/time/pressure; follow manufacturer guidance | Set temperature/time/pressure per film and fabric; use protective sheet; monitor dwell time; choose peel method; run small test transfers; adjust powder/time/pressure |
| Step 6: Peel, Cool, and Finish | Peel strategy and finishing | Hot/warm/cold peel as recommended; cool completely; inspect edges and color; address adhesion or surface issues with light cure or silicone sheet if needed |
| Step 7: Quality Control and Troubleshooting | Ongoing QC and issue resolution | Standardized checks; compare to proofs; document issues and actions; build problem-solution library; reduce returns |
| Step 8: Finishing, Packaging, and Customer Delivery | Packaging and delivery considerations | Moisture-free storage; protective sleeves; care guide; include customer care; feedback loop to improve; align finishing with design-to-production |
Summary
DTF transfer workflow is a disciplined approach to turning creative concepts into reliable, high-quality apparel that customers love. By following the eight stages—from concept and design through finishing and delivery—you align design intent with production realities, achieve color accuracy, material compatibility, and predictable results. This structured process helps predict outcomes, reduce waste, speed up fulfillment, and scale operations without compromising quality. With thorough prepress, careful material handling, and consistent quality checks, you can deliver vibrant, durable transfers that carry your brand’s design language while meeting customer expectations again and again.

