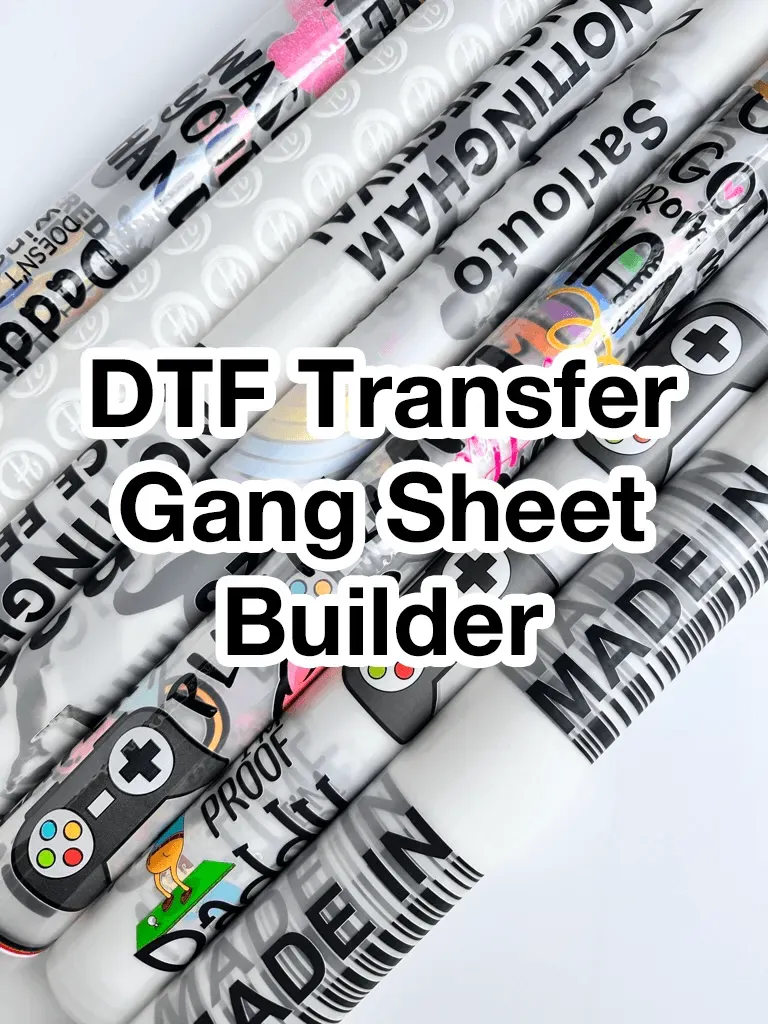
DTF gangsheet builder is redefining how shops plan multi-design transfers, turning a complex workflow into a reliable, repeatable process that teams can train around and reference in standard operating procedures. By focusing on DTF gangsheet layout optimization, you reduce waste and improve alignment across every panel, and you set a clear baseline for how designs interlock on various sheet sizes and fabric applications. This approach streamlines prepress, simplifies color management, and supports consistent margins and bleed when preparing designs for production, reducing the need for manual adjustments later in the workflow. When the gangsheet is optimized, you can preserve DTF color vibrancy from the digital file to the final transfer, delivering bright, durable graphics. That consistency translates to higher quality results you can trust across batches, minimizes misprints, helps teams meet deadlines, and strengthens client confidence in repeat orders, preserving DTF color vibrancy across runs.
Viewed through a broader lens, the concept centers on coordinating multiple artworks on one substrate to maximize material use and minimize handling steps. Think of it as sheet-wide design coordination that aligns margins, bleed, and color relationships across every panel, enabling scalable production. Effective prepress planning relies on consistent file prep, calibration across devices, and template-driven layouts that translate smoothly from screen to film to garment. By embracing these related ideas—from grid-based placement to color management workflows—you can achieve reliable results, improve throughput, and build a reputation for quality across orders.
DTF gangsheet layout optimization: maximizing sheet usage and consistency
DTF gangsheet layout optimization focuses on arranging multiple designs on a single sheet to maximize material usage while maintaining color integrity. By planning margins, bleed, and a practical grid, it minimizes waste and reduces handling errors, aligning with the goals of DTF sheet optimization.
This approach creates a repeatable blueprint that improves print consistency across panels and garments, helping maintain DTF color vibrancy and printer efficiency throughout production.
DTF printing alignment: achieving precise registration across panels
DTF printing alignment is the foundation of crisp transfers. If panels are not registered precisely, colors drift and margins vary after heat pressing, leading to noticeable misregistration on final garments.
Use alignment marks, consistent margins, and test prints to verify registration before full runs. When alignment is tight, the finished pieces show clean edges and accurate color relationships, enabling consistent results across batches.
DTF sheet optimization: cost-efficient production without sacrificing quality
DTF sheet optimization focuses on maximizing the number of designs per sheet without compromising quality or edge-to-edge color coverage. Effective sheet utilization reduces material waste and lowers per-item production costs.
Rotate designs when needed, create templates for common garment sizes, and use snapping guides to minimize wasted space. This practice supports scalable production while preserving print quality and color consistency.
DTF color vibrancy: maintaining vivid hues through the workflow
DTF color vibrancy hinges on robust color management and consistent transfer behavior. Ensuring that artwork maintains brightness, saturation, and hue through each stage helps deliver compelling final garments.
Apply standardized color profiles, monitor ink behavior on the substrate, and validate edge-to-edge color coverage with test swatches. A well-controlled workflow keeps vibrancy consistent from digital design to the finished transfer.
DTF print accuracy: calibrations and checks from file prep to press
DTF print accuracy comes from a disciplined workflow: precise asset preparation, calibrated equipment, and controlled post-processing conditions. Regular calibration reduces panel-to-panel variation and ensures faithful color reproduction.
Conduct color patches, verify with test prints, and maintain stable printer settings, heat press temperature, and dwell time. By aligning these factors, you improve repeatability and minimize surprises in production.
DTF gangsheet builder workflow: templates, margins, and repeatable processes
DTF gangsheet builder workflow ties everything together as the backbone of production. It enables template-driven layouts, standardized margins, and repeatable steps that scale across batches.
Adopt a reusable template library, enforce a consistent grid, and integrate with RIP software to automate spacing and bleed guides. This approach reduces waste, speeds up production, and helps maintain vibrant colors and sharp details across multiple garments.
Frequently Asked Questions
How does the DTF gangsheet builder support layout optimization for multi-design sheets?
The DTF gangsheet builder acts as the workflow backbone for arranging artwork on a single substrate. It enables a grid-based layout with defined margins and bleed to minimize waste while preserving color accuracy across panels, delivering efficient multi-design sheets.
Why is DTF printing alignment critical in gangsheet projects, and how can I improve it?
DTF printing alignment is foundational to repeatable results. Use alignment marks, consistent margins, and test prints before production; templates and precise grid placement help lock registrations across all panels and reduce misregistration.
How can DTF sheet optimization maximize material usage on a gangsheet without sacrificing quality?
DTF sheet optimization focuses on reducing blank space by snapping designs to a grid, rotating designs where feasible, and maintaining safe margins and bleed. This approach increases designs per sheet while maintaining print quality and alignment.
How does the DTF gangsheet builder influence color vibrancy across designs?
Color vibrancy hinges on consistent color management. Use unified color profiles, monitor ICCs, and perform careful color conversions to minimize drift between panels, so each design maintains bright, accurate color on the final garment.
What steps in the DTF print accuracy process should I follow when using a gangsheet?
Follow a repeatable workflow: prepare artwork with consistent color settings, define a master grid with margins and bleed, place designs precisely, add alignment marks, run test swatches, and verify on a sample garment before production.
What are common pitfalls in DTF gangsheet layout optimization and how can I avoid them?
Common pitfalls include overcrowding, inconsistent color profiles, skipping test prints, heat press drift, and poor template management. Avoid them by enforcing safe margins, using a single color workflow, running calibration tests, and maintaining reusable templates.
| Aspect | Key Points |
|---|---|
| What is the DTF gangsheet builder? | A tool and set of practices for organizing artwork on one substrate to maximize the number of designs per sheet while preserving color accuracy and print alignment; reduces waste and speeds production. |
| Core goals | Minimize waste, prevent misprints, and ensure consistent color across panels by planning margins, bleed, color management, and printer constraints. |
| Grid and sheet planning | Choose sheet size, define a grid, and leave room for margins and bleed; design a grid that suits printer width and transfer process (e.g., 12×16 inch sheet with a 4×4 grid, 0.25 inch margins, 0.15 inch bleed). |
| Alignment and color management | Use alignment marks, consistent margins, and test prints to verify registration; manage colors with profiles/ICC where applicable to maintain consistency and predictability. |
| Artwork preparation | Prepare clean, print-ready files with consistent resolution (e.g., 300 dpi+), standardized color space (sRGB/Adobe RGB), and defined bleed areas. |
| Step-by-step workflow | 1) Define grid; 2) place designs; 3) add marks; 4) create templates; 5) test swatches; 6) save master template; 7) run test print; 8) heat press test; 9) iterate. |
| Vibrancy and accuracy focus | Minimize color drift through early color management and calibration of printer and materials; maintain consistent conditions for reliable vibrancy. |
| Common pitfalls | Overcrowding, inconsistent color workflows, skipping tests, heat press drift, and poor template management. |
| Role of technology | RIP software and design tools automate spacing, alignment, bleed guides, and template reuse; emphasize grid-based layouts and robust color workflows. |