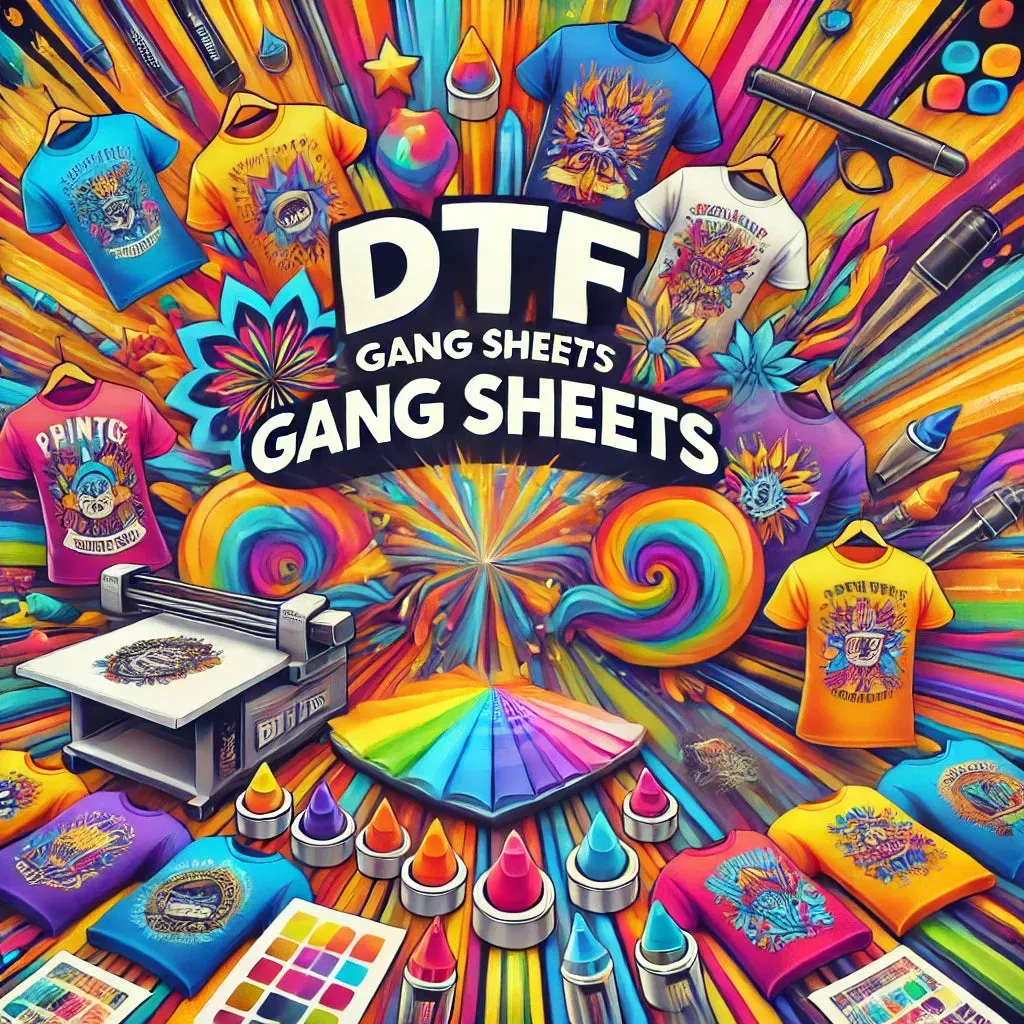
If you’re looking to dive into the world of DTF gangsheet creation, you’re on the brink of a printing revolution. DTF (Direct to Film) printing is a game-changing technique that allows creators to produce stunning, vibrant prints on various fabrics by using a gang sheet, a single sheet that combines multiple designs. This process not only streamlines your production but also optimizes material usage, creating a more efficient workflow. In this tutorial, we’ll explore the ins and outs of creating DTF prints, with a focus on essential DTF printing tips, gang sheet design, and effective methods for the transfer process. Get ready to elevate your fabric printing projects with newfound skills and creativity!
In the realm of fabric printing, utilizing a DTF transfer sheet can significantly enhance your production capabilities. This innovative approach allows for the simultaneous application of several prints on a single film, promoting efficiency in both time and resources. Whether you refer to it as a gang sheet, direct film transfer, or print sheet, the principles remain the same: combine designs strategically for optimal output and minimal waste. With our DTF printing tutorial, you’ll learn the vital steps involved, from design setup to post-processing techniques, ensuring your images transition beautifully onto textiles. Embrace the art of gang sheet design and discover how simple adjustments can lead to striking results in your printing endeavors.
Understanding DTF Printing and Its Benefits
DTF printing, or Direct to Film printing, is a modern technique that revolutionizes the fabric printing industry. This method involves creating a design that is printed directly onto a specialized film, which is then transferred onto the fabric. The advantages of DTF printing are vast: it offers vibrant colors, intricate designs, and high durability. Furthermore, DTF can effectively print multiple designs on a single sheet, known as a gang sheet, making it an efficient choice for businesses that want to optimize their material usage and reduce costs.
For those looking to step into the world of fabric printing, understanding DTF is crucial. The technology combines the best features of traditional inkjet and screen printing processes, providing an excellent alternative for businesses of all sizes. Whether you are a seasoned print shop owner or a beginner exploring printing options at home, DTF printing equips you with the flexibility to create stunning designs without compromising quality.
Key Steps in Building Your DTF Gang Sheet
Creating an effective DTF gang sheet involves several essential steps that ensure both productivity and quality. Firstly, you must invest time in understanding the software tools at your disposal. Programs like Adobe Illustrator and CorelDRAW are popular choices that offer robust features for design creation and editing. As you set up your canvas, focusing on the printer specifications is vital; utilizing provided templates can enhance the accuracy and effectiveness of your prints.
Secondly, design optimization plays a significant role in achieving exceptional results with your gang sheet. This involves creating designs with high resolution, preferably 300 DPI, to ensure sharp clarity. Moreover, careful layout planning is crucial. By thoughtfully positioning your designs, you can minimize waste and maximize space on the gang sheet. This foundational knowledge will serve you well as you progress in your DTF printing journey.
Essential Tips for Color Management in DTF Printing
Color management is a critical aspect of DTF printing that directly influences the final output quality. To achieve accurate color reproduction, setting the right color profiles in your software is essential. It’s recommended to use an ICC profile that is compatible with your specific DTF printer and inks. This guarantees that the bright hues and shades you envision on your screen translate effectively onto your prints.
Additionally, conducting test prints is an indispensable step within this process. These preliminary prints allow you to assess how colors appear on the chosen fabric, providing a chance to make final adjustments before committing to the full print run. Mastering color management not only affects aesthetics but also plays a pivotal role in customer satisfaction, particularly when delivering custom designs.
Mastering the DTF Printing Process
Once your gang sheet is ready, the next stage is the actual printing process. Setting your printer to the specific DTF printing settings is paramount; this includes adjusting the resolution, ink levels, and any other parameters outlined in your printer’s user manual. Such preparatory steps ensure your designs are printed with optimal quality and color accuracy.
Moreover, using a quality DTF transfer film is essential to achieving successful results. Poor-quality films can hinder adhesion and negatively impact the vibrancy of your printed designs. By investing in high-quality materials, you not only protect your investment but also enhance the overall quality of your finished products, ensuring that they meet industry standards.
Post-Processing Techniques for Successful DTF Transfers
The post-processing phase is where your DTF gang sheet truly comes to life. After printing, it is crucial to apply hot melt powder while the print remains wet. This step significantly enhances the adhesion properties when applying the design to fabrics. Properly managing this detail can mean the difference between a successful transfer and one that fails to stick.
Following the powder application, the curing step with a heat press is critical. Curing not only solidifies the printed image on the film but also secures the bond with the chosen fabric. Adhering to the recommended settings from your heat press ensures that your designs maintain their integrity and vibrancy even after washing or repeated use.
Cutting and Applying Your DTF Gang Sheet Like a Pro
Once you’ve completed the printing and curing processes, the final steps involve cutting and applying your DTF gang sheet. Cutting your designs individually allows for greater versatility and ease in application across various textiles. This step gives you the ability to customize orders for clients who may seek unique or diverse designs.
When it comes to applying your DTF transfers to garments or other fabrics using a heat press, precision is key. Following the manufacturer’s guidelines for temperature and time settings will help ensure that the design adheres correctly and lasts over time. By mastering the cutting and application phase, you’ll solidify your skills and achieve professional-quality results that will impress your clients.
Frequently Asked Questions
What is a DTF gangsheet and why is it important in DTF printing?
A DTF gangsheet is a single sheet that contains multiple designs printed together using Direct to Film (DTF) printing technology. It is important because it maximizes efficiency by reducing material waste and printing costs while allowing for a diverse range of designs to be printed simultaneously.
What software do I need for creating DTF gang sheets?
To create DTF gang sheets, you’ll need graphic design software such as Adobe Illustrator or CorelDRAW. These programs allow for precise design layout and optimization, crucial for high-quality DTF printing.
How can I optimize my designs for DTF gang sheets?
To optimize designs for DTF gang sheets, ensure they’re created at a high resolution of 300 DPI, and arrange them closely together to minimize waste. Leaving adequate space for cutting is also essential.
What are some tips for the DTF transfer process?
During the DTF transfer process, ensure your printer is set to the correct DTF settings, use high-quality DTF transfer films, and apply hot melt powder while prints are still wet to enhance adhesion to textiles.
How do I ensure accurate color reproduction in DTF printing?
To ensure accurate color reproduction in DTF printing, set the correct ICC color profiles in your design software. Performing test prints helps adjust colors to match what appears on-screen and maintaining consistency.
What post-processing steps are required after printing a DTF gang sheet?
After printing a DTF gang sheet, it’s crucial to apply hot melt powder to the wet print and cure it using a heat press. This process secures the designs onto the fabric and enhances adhesion during the application.
| Step | Description |
|---|---|
| 1. Software Requirements | Select graphic design software like Adobe Illustrator or CorelDRAW. Ensure the canvas matches printer specifications. |
| 2. Design Optimization | Design at a high resolution (300 DPI) and optimize layout to reduce waste. Leave space for cutting. |
| 3. Color Management | Set ICC profiles for accurate color reproduction and conduct test prints to adjust colors as needed. |
| 4. The Printing Process | Ensure printer settings match the printer’s requirements and use high-quality DTF transfer films. |
| 5. Post-Processing | Apply hot melt powder while prints are wet and cure the sheets using a heat press for proper adhesion. |
| 6. Cutting and Application | Cut gang sheets into individual designs and apply them to textiles using a heat press, following the recommended settings. |
Summary
DTF gangsheet creation is a fundamental skill for fabric printing enthusiasts. By following the outlined steps in this tutorial, you will learn how to expertly build a DTF gangsheet, enhancing your printing efficiency and quality. From software selection to post-processing, each phase is crucial in ensuring vibrant and accurate prints. Continued learning through resources and community insights will keep you informed about the latest techniques in DTF printing, empowering you to create stunning designs that stand out.