DTF design file prep is the foundation of reliable, high-quality transfers, guiding your project from concept to garment. Starting with a solid prep helps ensure color accuracy, clean separations, and consistent results across fabrics. A well-planned workflow supports what we call transfer design prep, helping maintain fidelity from design to garment. This approach reduces reprints and streamlines production so you can deliver durable, professional results. By treating prepress as essential, you improve efficiency and deliver high-quality outcomes.
In practical terms, this preparation is the prepress stage for fabric applications, where careful artwork setup for DTF becomes the blueprint for consistent results. LSI-friendly terminology such as garment-ready files and color-faithful previews helps teams align on workflow without getting lost in jargon. By framing the topic with related concepts like prepress accuracy and transfer suitability, you communicate intent clearly to designers and operators. Ultimately, mastering this planning phase reduces surprises in production and helps ensure the final transfer looks and performs as intended on textiles.
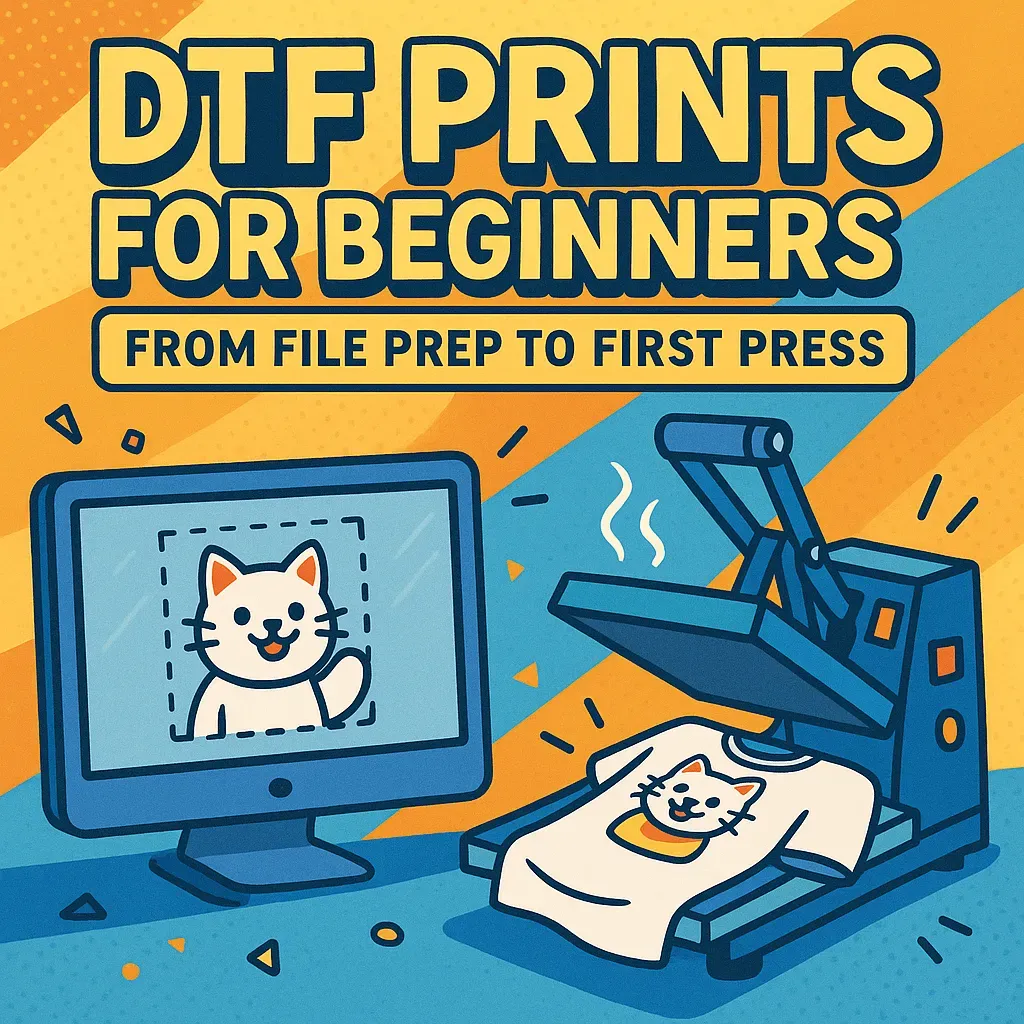
DTF design file prep: the backbone of reliable print-ready transfers
In DTF printing, success starts with meticulous design file preparation. DTF design file prep ensures color accuracy, clean separations, and proper embedding of art assets. A strong prep process reduces misprints and supports predictable transfer results, leading to fewer reprints and happier customers. This phase sets the foundation by aligning file specs with printer profiles and export formats, weaving in print-ready transfers from the outset.
By treating prepress as a core workflow, teams improve color management for DTF, smooth out color shifts, and maintain fidelity from screen to garment. The work includes mirroring orientation, bleed, margins, and correct resolution. A well-defined prep reduces waste and speeds up production, delivering more consistent DTF printing outcomes across product lines.
Artwork setup for DTF: file formats, resolution, and orientation
Artwork setup for DTF covers choosing vector vs raster, exporting TIFF/PNG, and maintaining master files. For logos and type, vector AI, EPS, or SVG scale without quality loss; for photos, use high-resolution TIFF or PNG. Mirroring and orientation must be applied at the artwork stage so that the final transfer prints correctly on fabric.
Bleed, safe margins, and image boundaries matter. Provide 1/8 inch bleed, keep key elements within safe zones, and ensure the design size matches the garment area. Resolution targets: 300 dpi typically, 600 dpi for tiny details; ensure your color space aligns with the printer ICC profile to keep details crisp when pressed.
Color management for DTF: color fidelity from screen to fabric
Color management for DTF relies on calibrated monitors and printer ICC profiles. Start with the printer’s color space and convert artwork to CMYK if required. Note that heat transfer can shift colors; plan for soft-proofing and test proofs.
Communicate color expectations with the shop; establish a color management plan including monitor calibration, soft-proofing, and proofing on fabric. A clear plan reduces surprises in the final transfer and ensures brand colors stay consistent across runs.
Layout, margins, and transfer-area planning for consistent results
Layout planning considers garment sizes and print area constraints, scaling for multiple sizes to preserve proportions. Include margins and alignment cues to prevent edge cropping and misplacement.
Decide on cure times, liner orientation, test swatches, and alignment marks. A well-planned layout supports reliable transfer adhesion and balanced visuals across apparel.
Export settings and prepress checks to secure robust prep
Export clean print-ready files: use TIFF or PNG with appropriate color profile; flatten layers only when necessary. Name files with design name, version, and date to keep production organized.
Prepress checks include mirroring verification, color accuracy against ICC, proper bleed, and correct sizing. If possible, print a small proof on scrap fabric to verify. These steps prevent costly errors on larger runs.
From concept to garment: building a repeatable DTF workflow
A repeatable workflow links artwork setup for DTF to transfer design prep, color management for DTF, and print-ready transfers into a seamless process. This end-to-end approach improves efficiency, reduces reprints, and strengthens overall DTF printing outcomes.
Asset management and version control matter: name files clearly, store master and production-ready exports, and maintain a digital library. A reliable workflow aligns designers, operators, and clients, ensuring consistent results across all DTF projects.
Frequently Asked Questions
What is DTF design file prep and why is it critical for successful DTF printing?
DTF design file prep is the prepress workflow that prepares artwork for reliable transfers. It covers color accuracy, clean separations, proper mirroring, bleed, and export-ready files, all of which impact DTF printing results and print-ready transfers. Skipping prep can lead to color shifts, misalignment, or adhesion issues. A solid prep habit aligns with color management for DTF and streamlines production.
How should I approach artwork setup for DTF during DTF design file prep to ensure sharp details and accurate color?
Begin with the right file formats (vector for logos, high‑resolution raster for photos) and maintain a master layered file. In artwork setup for DTF, mirror the design for transfer orientation and include proper bleed and safe margins. Flatten or simplify layers only when necessary for consistency, and export print-ready files in TIFF or PNG using a printer-friendly color space.
What role does color management for DTF play in achieving faithful transfers, and how can I implement it during DTF design file prep?
Color management for DTF ensures that colors seen on screen match the transferred result on fabric. Use the printer ICC profile, calibrate monitors, and convert artwork to the recommended color space before export. Proof with test prints and coordinate with your print shop to align expectations. This practice is central to reliable DTF printing.
What export settings create reliable print-ready transfers from DTF design file prep?
Export final designs as lossless TIFF or PNG at the target print size and resolution (commonly 300 dpi, higher for fine detail). Use the correct color profile, flatten complex layers only when needed, and keep a clean master for edits. Name files clearly with design name, version, and date to support efficient production.
How do layout decisions in DTF design file prep affect transfer area and garment fit?
Plan the layout around garment sizes and the transfer print area, adjusting scaling to preserve proportions and impact. Define bleed and safe zones to prevent edge cropping during heat press, and consider liner orientation and test swatches to verify adhesion and balance before production.
What prepress checks and proofs should be part of DTF design file prep to minimize reprints?
Perform prepress checks for mirroring, color accuracy against ICC profiles, correct sizing, and bleed. Create a small proof on a scrap garment to verify alignment and color before a larger run. Maintain proofs and document adjustments to ensure consistency in future projects and reduce waste.
| Aspect | Key Points | Notes |
|---|---|---|
| DTF design file prep definition | Foundation for color accuracy, clean separations, and durable transfers. | From artwork to transfers; reduces reprints; sets quality baseline. |
| Why it matters | Prevents color shifts, misalignment, poor adhesion. | Essential prepress step; enables consistent workflow across products (tees, bags, athletic wear). |
| Core components | Clean artwork; appropriate file formats; color management; precise sizing; reliable export settings | Maintains fidelity from screen to garment; matches designer’s intent. |
| Artwork and file formats | Vector for logos and type; raster for photos; flatten layers for print; preserve master file | Export print-ready assets as TIFF or PNG; align with printer ICC profile; use suitable color spaces |
| Mirroring and orientation | Mirror at print time; ensure final reads correctly on garment orientation | Verify orientation in artwork software before exporting; test with sample prints |
| Bleed and margins | Bleed of 1/8 inch (3 mm); safe margins | Prevent cropping and color bleed; account for edge considerations in complex designs |
| Resolution and detail | Target 300 dpi at final print size; 600 dpi for small details | Higher resolution preserves legibility and crispness of fine elements |
| Color management | Use printer ICC profile; convert to CMYK if needed; proof with test prints | Calibrate monitors; communicate color expectations with print shop |
| Layout and transfer-area planning | Consider garment sizes; scale to preserve proportions; plan test swatches | Align with transfer area constraints; ensure balanced visual impact |
| Export settings and file integrity | Use lossless formats; flatten when necessary; clear naming | Organize master files and exports in a versioned archive for efficiency |
| Prepress checks and proofs | Verify mirroring, color accuracy, bleed, and sizing; print small proof | Proofing catches issues before large runs; essential step |
| Asset management and workflow integration | Consistent naming, versioning, and asset library | Supports efficient production and reduces team confusion |
Summary
DTF design file prep is the backbone of reliable, high-quality transfers. By establishing a structured workflow that emphasizes accurate artwork, proper file formats, robust color management, careful layout, and solid export practices, you can consistently achieve vibrant colors, durable adhesion, and fewer reprints. This descriptive summary highlights how diligent prep aligns the designer’s intent with production realities, improving color fidelity, reducing waste, and speeding up the path from concept to finished textile.

